


How to disassemble the ink core of Imaje 9020 inkjet printer?
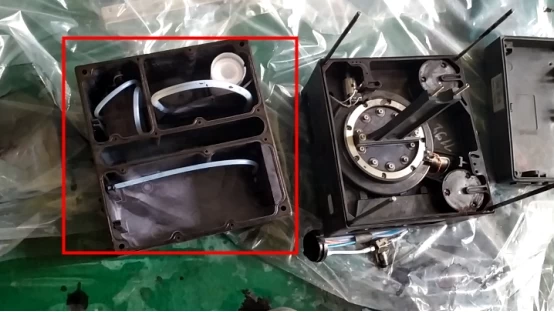
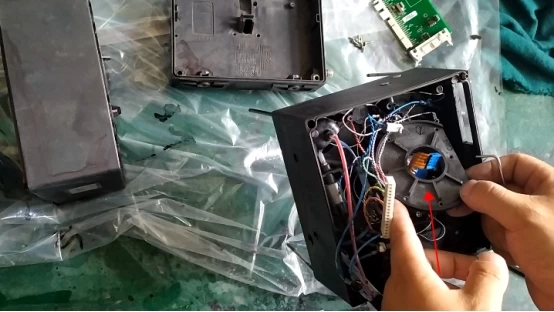
Now that it's all been taken apart by me, the 9020 ink core can be divided into three pieces. This is the lid:
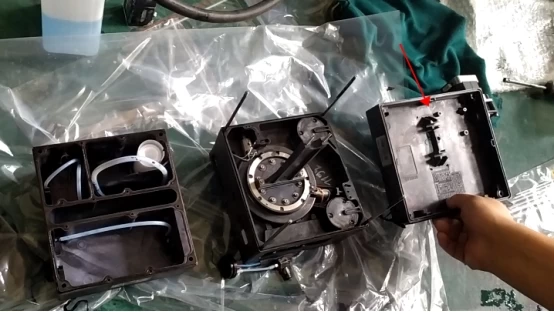
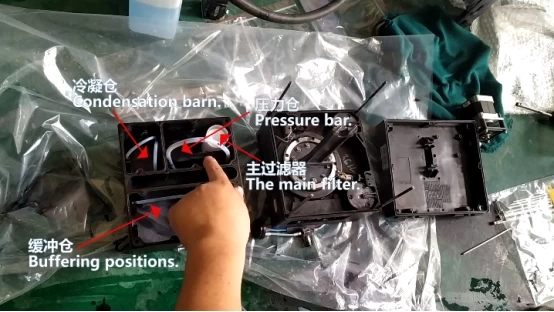
This is the middle, divided into three chambers:
There is a main filter in the pressure chamber, the main filter replacement is also very easy, we gently pull it out, and then, we just point this hole at the pressure warehouse main filter hole down, we can install it:
Press it tight until it cannot be swirled to the left and right, and the main filter is installed:
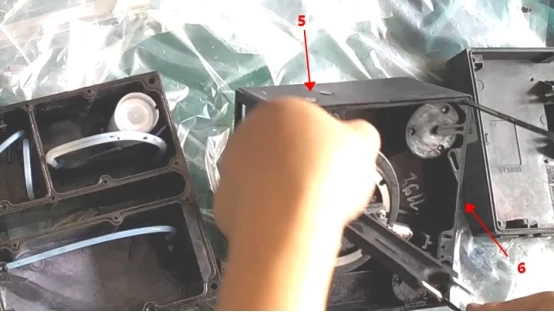
Both pressure and viscosity are in this pressure chamber, and then the buffer position acts as a buffer.
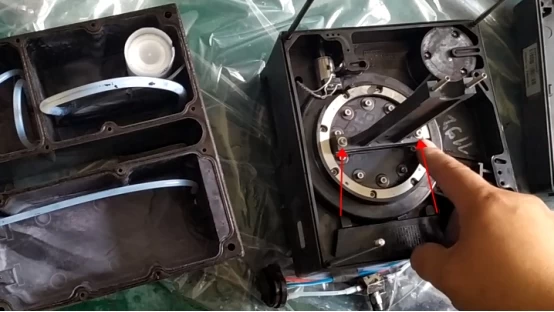
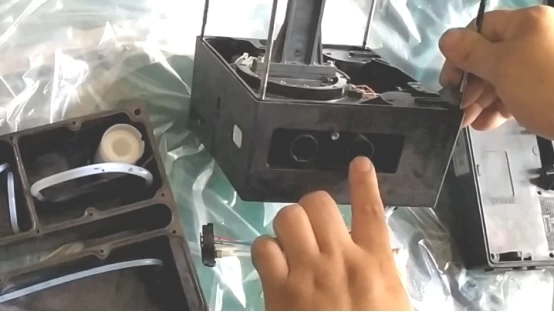
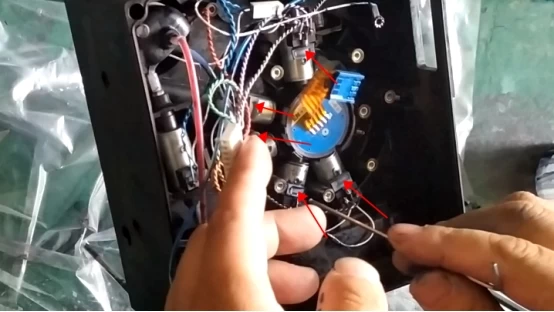
The main thing is the lower half of it, solenoid valve, ink core plate are here:
Here are a few screws, two diaphragms under the screws, one pressure and one recycled:
If you want to replace the diaphragm, do not move the two screws because it rotates:
Then take all these screws around, pay attention to, screw size, length is not the same, do not mix placed together, if mixed, easy to install not tight, easy to leak, resulting in ink leakage.
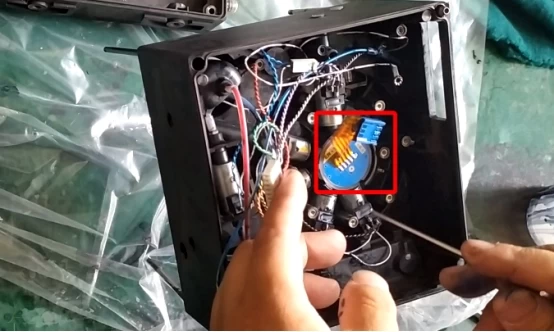
Originally only the middle layer is ink, unless the diaphragm is broken, in general, the pressure is not correct, high and low, or recycling is not good:
Generally speaking, if the test is that the solenoid valve is good but not well recycled, it may be that the recovered diaphragm is broken, which requires us to replace the diaphragm inside.
The uppermost diaphragm is recycled, and the lowermost small diaphragm is stressed, with compartments in the middle and two not attached together:
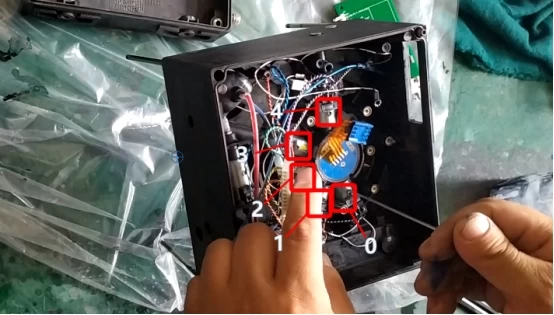
These two are solenoid valves, Valve 5, Valve 6, both of which play a role in recycling. If the recovery is not smooth or the valve does not ring, the test is the problem of valve 5 or valve 6:
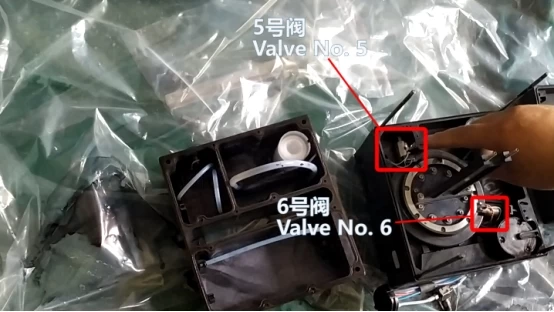
In the ink and solvent socket facing our own premise, the back is valve 5, the right side is valve 6:
If the valve 5 or 6 is to be replaced, the ink core must be removed. If you replace another valve, remove the ink core plate directly from the bottom, take down the above several screws, the valve will be exposed:
These screws on the ink core are not the same, to be placed well. The first time to disassemble, be sure to note the screw position, screws have a lot, place the position do not confuse.
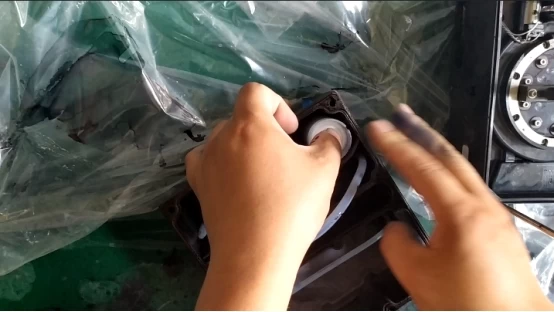
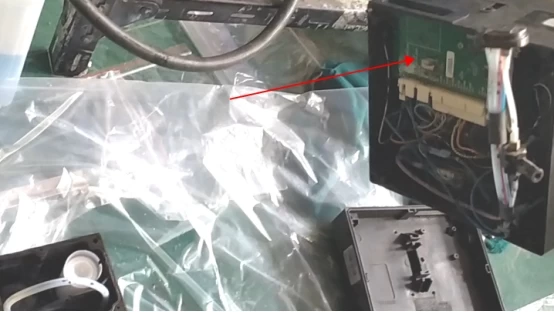
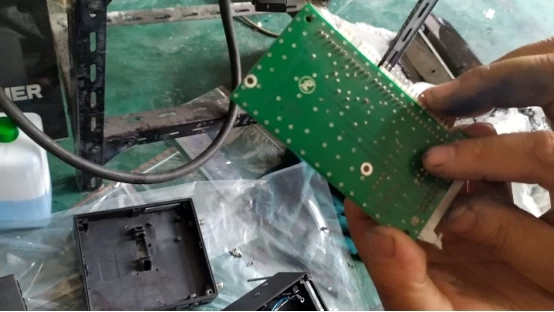
Remove the screws on the ink core plate, pull lines off, and the ink core plate can be removed. Removed ink core plate, whether it is the front or back, as long as there is ink or dirty, to wash it clean with cleaning liquid, wash it clean, with the cold air of the hairdryer to blow it, be sure to use cold air:
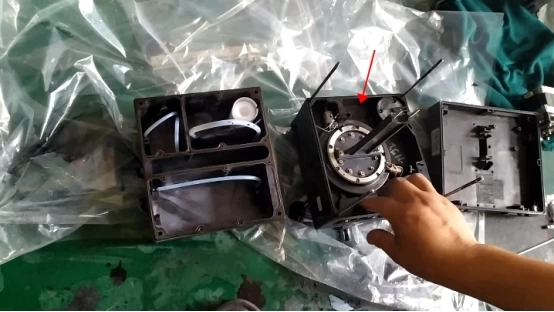
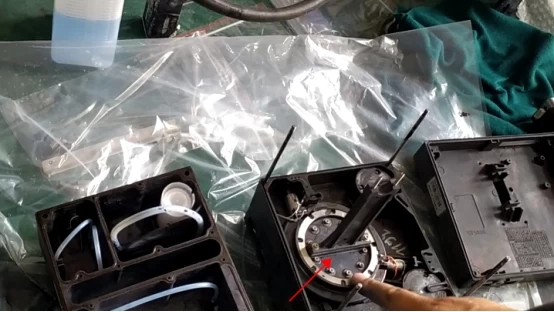
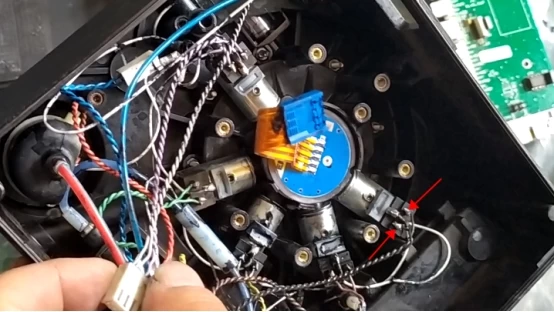
Since both the solenoid valves and the pressure sensor are underneath, remove the cover:
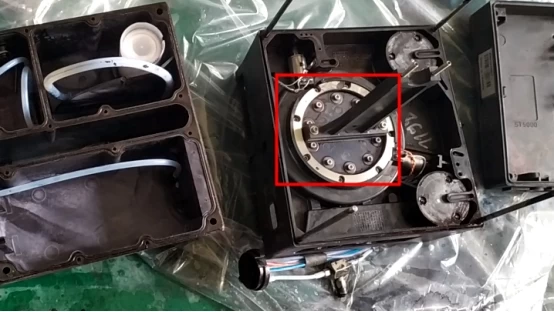
There are 5 solenoid valves under the lid, be careful when removing them, and each valve has a pressure bar on top of it. The pressure bar must not be removed, if the pressure bar off, because the ink core is facing down, it is easy to loosen, easy to leak ink, to gently:
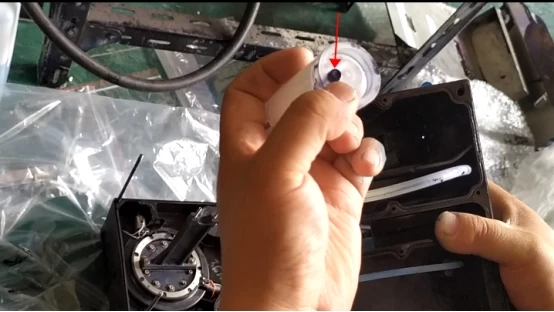
This is the pressure sensor, there is an O-ring below. All pressure sensors have an O-ring:
If the pressure is not correct, it may be the pressure sensor, but because the pressure sensor is connected to the ink core plate, it is also possible that there is a problem with the ink core plate.
From simple to difficult, first determine whether it is a pressure sensor problem, then see if it is a problem of ink core plate, and finally consider the problem of motherboard.
This is the solenoid valve, which valve is broken to replace which valve on it:
When the machine is tested, if it rings, the valve is not necessarily good, but it does not ring, it is necessary to consider what the problem is. We can change the valve, or open this valve, and then use the meter to measure the voltage is not 24V, there is no voltage down, if there is no voltage down, from the line to the plate of this piece is certainly a problem. If there is voltage down, but the valve does not ring, it is the problem of the valve, either blocked or damaged.
If the volume of voltage, each solenoid valve has three lines, the above line is the ground line, we only need to measure the voltage of the left and right line, DC 24V, the valve is open state, give it current and voltage to measure:
When replacing the valve, if you are afraid of wire welding confusion, for example, it has the same two brown lines, but the positive and negative poles can not be reversed. So if we determine that it is a valve problem, we take a new valve, we weld off a line, we weld it to the new valve, and so on, the new valve on the three lines after the replacement, the old pry down and then install the new valve. Then the test doesn't ring, and if it does, it's OK. Remember that the pressure bar above the valve must have, otherwise the time will be long will leak ink.