Domino A320i machine parameter tuning and message editing
Machine parameter adjustment:
Look at how the pressure and modulation voltage are adjusted. First press the wrench key:
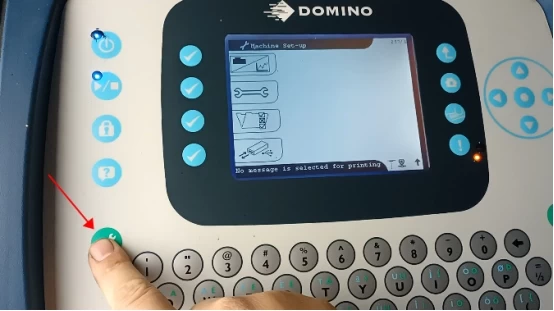
Then press this wrench key:
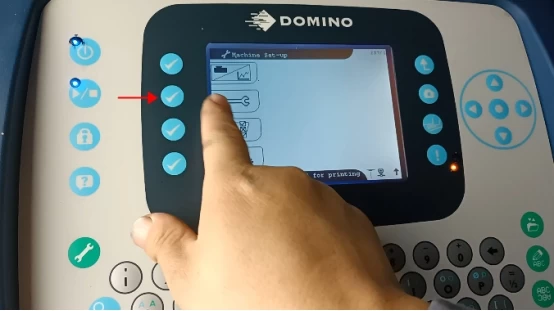
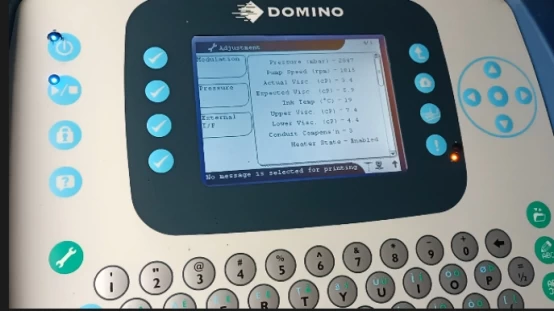
Press the Adjustment key:
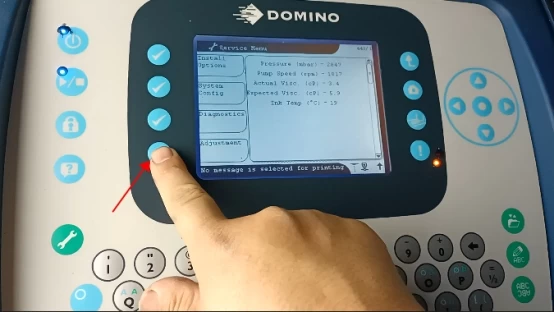
The first is the modulation voltage and the second is the pressure:
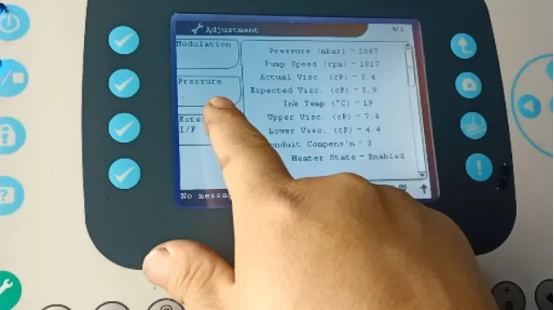
We click on pressure:
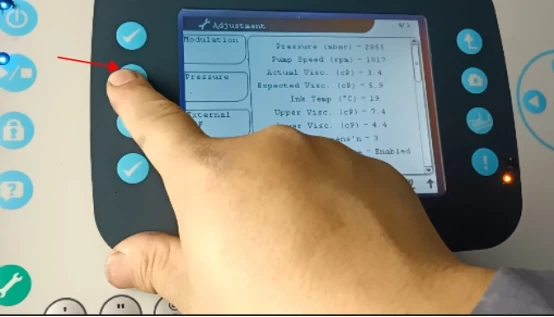
Now that the setting is 2850, we can press the right arrow key to increase and the left arrow key to decrease:
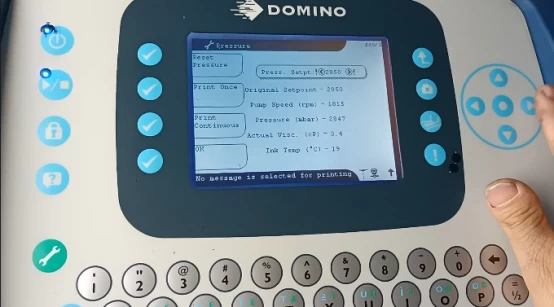
The value of 2850 is set, a good value, so I don't have to adjust it again.
Then after adjusting it, be sure to click OK:
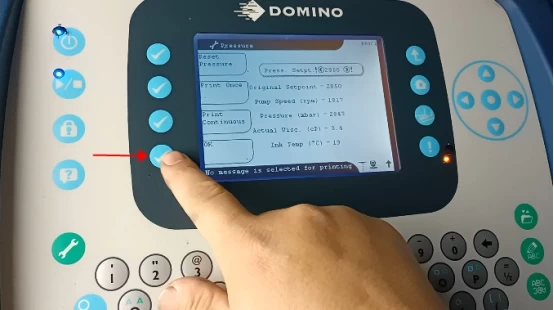
Then let's look at the modulation voltage.
The first is the step size, which we can decrease or increase with the left and right arrow keys:
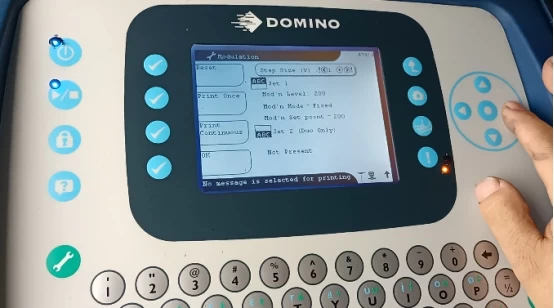
Then, the modulation voltage can also be reduced or increased.
In general, the pressure should be set between 2700-3000. The viscosity should be normal, and now the viscosity is a little low, as long as it does not affect the printing effect.
The difference between the speed and pressure of the pump is about 1000, the pressure is about 2800, and the pump speed is about 1800. If the pressure and the speed of the pump are similar, the pump is about to break:
Message parameter settings:
First press this key:
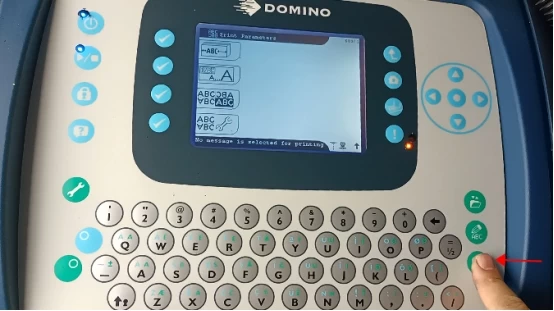
Let's look at the second one, this is the most commonly used, used to adjust the width, stroke rate, character height:
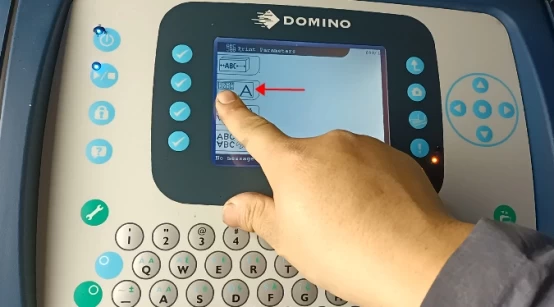
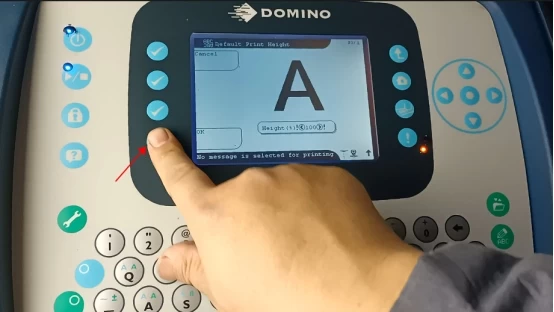
The height of the character is generally 100% normal, press the left or right arrow keys to reduce or enlarge it, but not less than 50%, otherwise the recycle slot may hang ink. Press OK after making the changes:
This is the stroke rate, which is the printing speed:
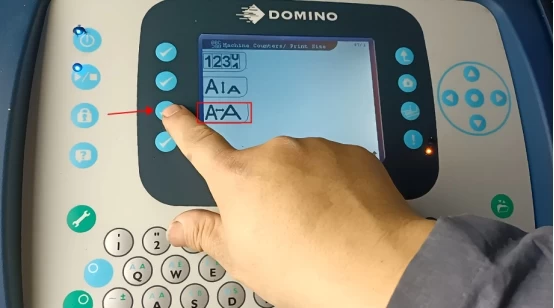
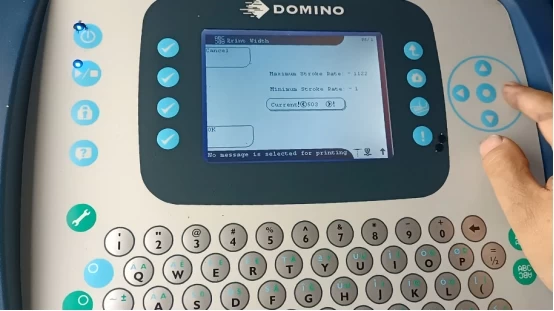
The maximum speed of two lines is 1122, we are now 503, press the left or right arrow keys to decrease or increase it. The larger this value, the faster the scratch rate, the shorter the message that is printed; the smaller the value, the slower the printing speed, and the longer the message:
Then, press this key to look at the parameters commonly used in the fourth one:
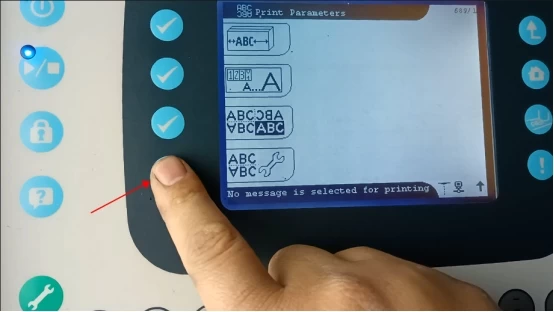
The most commonly used one is the printing delay (the printing delay is the time interval from the photoelectric induction of the product to the start of printing):
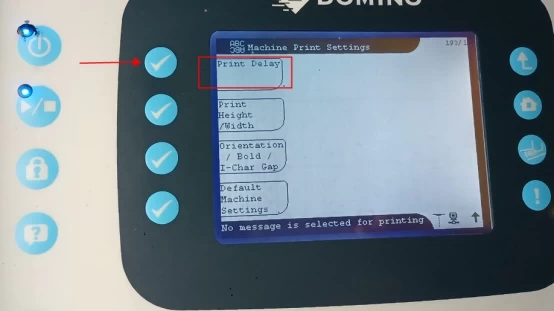
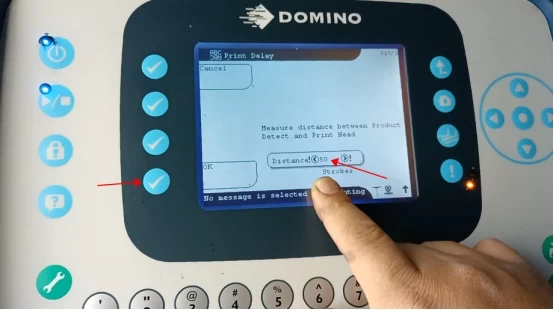
We can adjust it by entering the number directly, and after making the correction we click OK:
This is also the height and width, the same as the one just now:
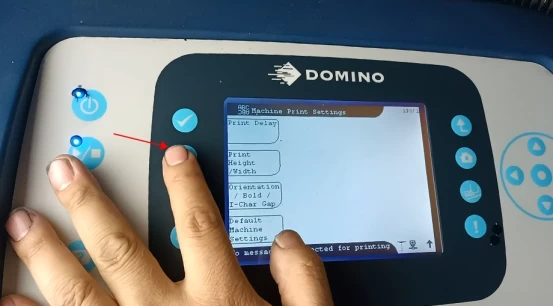
Press this key, which can set the orientation and character spacing:
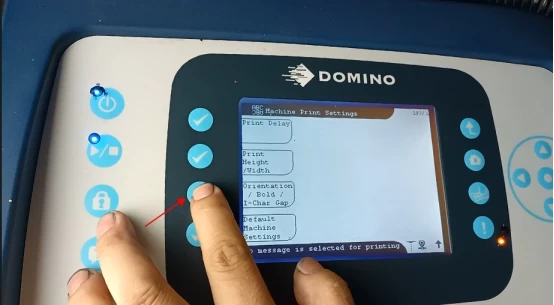
Message Editing:
First, let's press this Message Edit button:
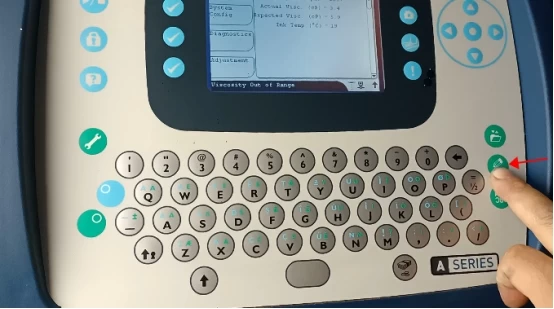
The text box shows the message we have edited, and we can edit the four lines of the message. We can press the backspace key to delete the message content:
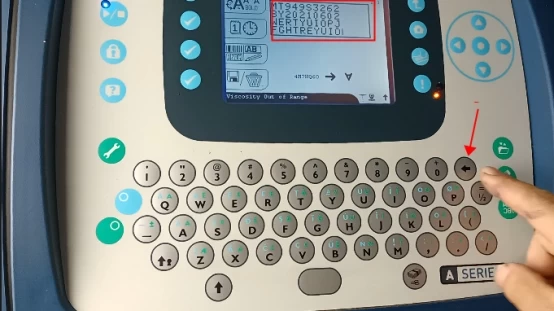
After pressing the backspace key to delete the message content, we can directly click on the keyboard to enter the required content:
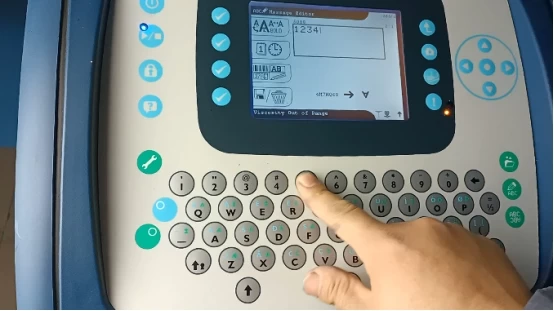
After the editing is done, we click the Save button:
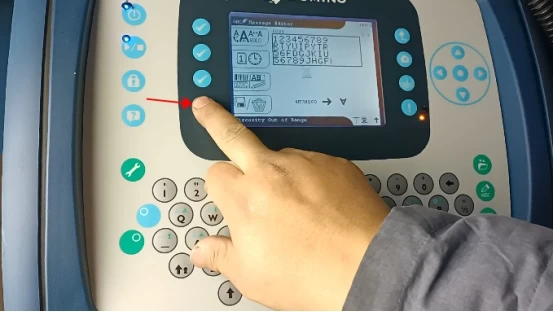
Name this file:
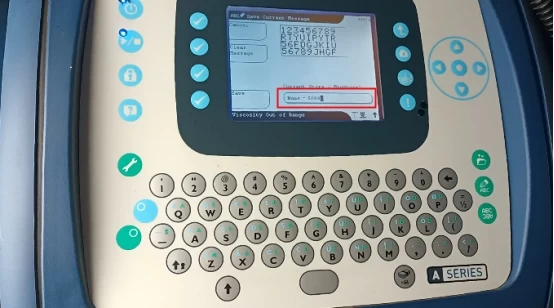
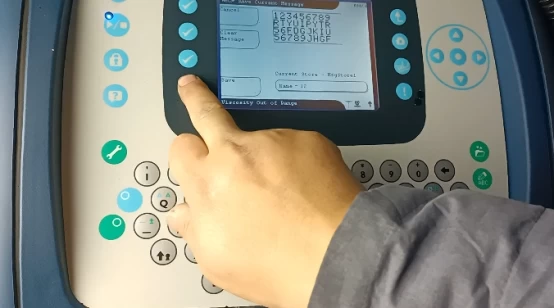
After the naming is complete, we click Save and the message is saved:
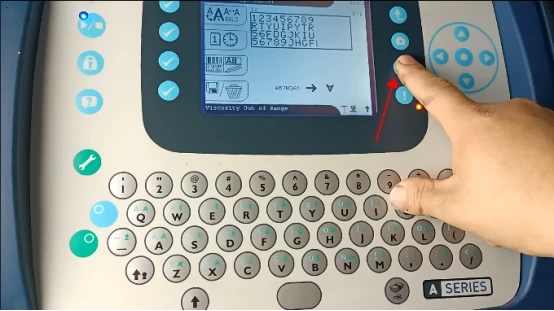
If you want to print this message now, press this print button and it will print this message:
If we have edited multiple messages, if I want to select the messages I want to print, there is a folder button here, and press this button:
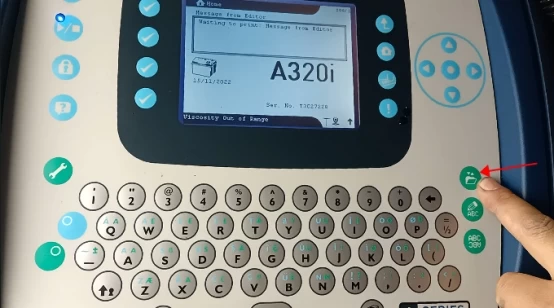
Here's the message we created earlier, press the up and down arrow keys to select:
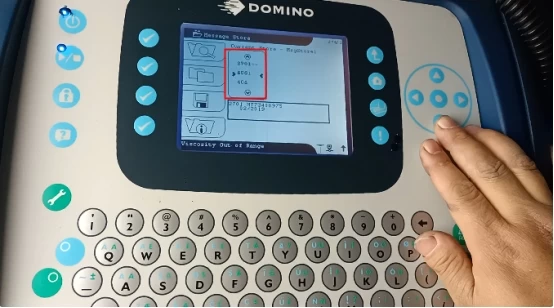
We select the message we need, and then we click on this print button and it will print the message:
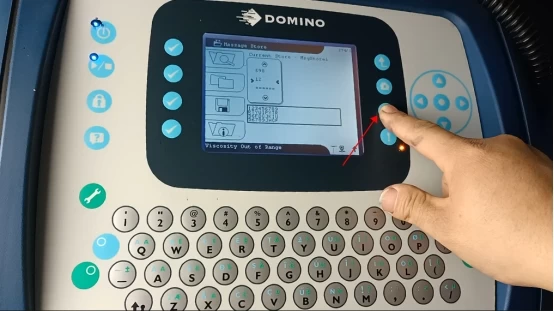
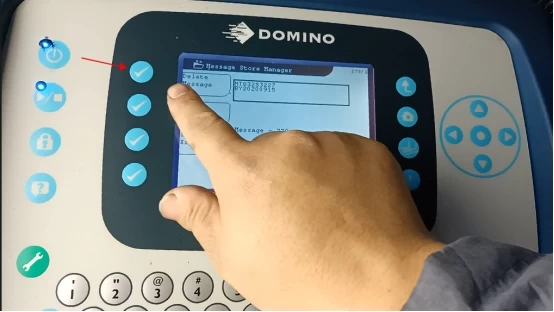
If we want to delete messages, we need to select the messages we want to delete, then we click on this button:
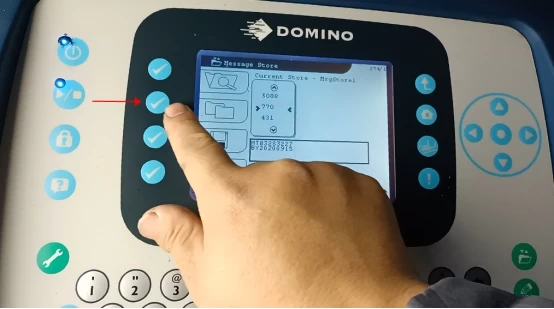
Then press this delete key and the message is deleted:
