IMAJE 9040 Repair Guide - How to disassemble and assemble and open the nozzle?
When we remove the nozzle of the 9040 inkjet printer, we must not remove its fixed base, because if you remove it and install it back, it is very easy to damage it:
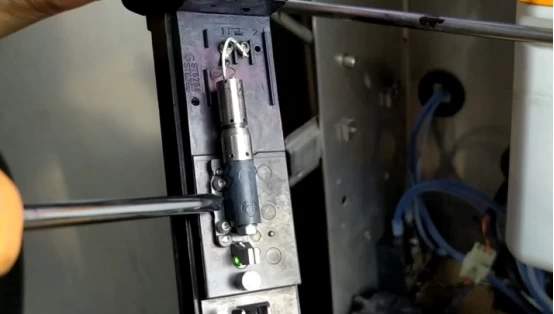
If you want to remove the nozzle, let's loosen the two screws first. One is the ground wire and the other is the crystal oscillator wire. Let's loosen them first:
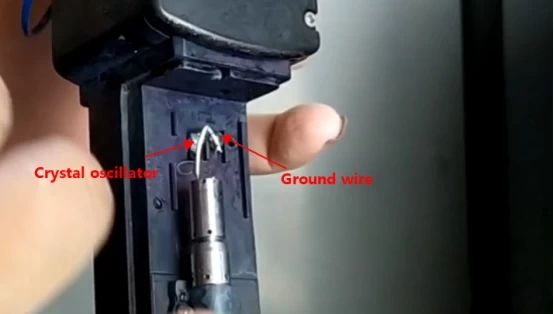
Then loosen the nozzle screw a little bit:
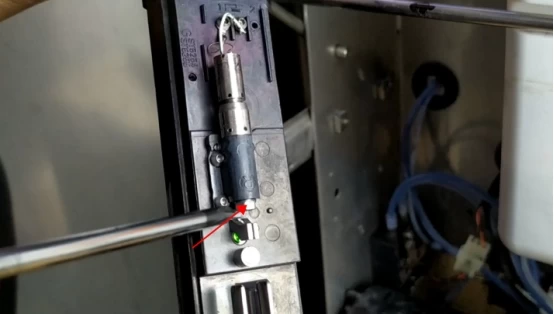
Then use a slotted screwdriver to push it up at the back, and the whole piece can be pulled out:
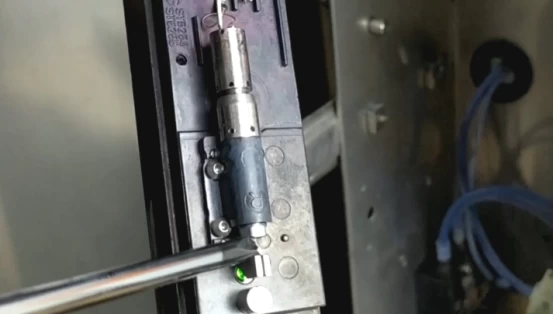
This is what it looks like when it comes out:
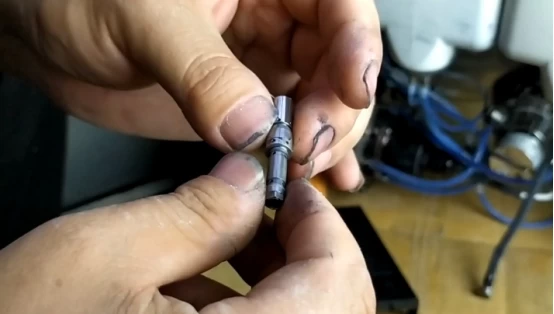
After we screw the screw off the back, this is the nozzle:
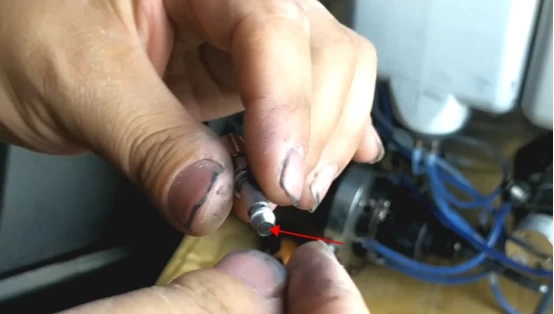
Don't use ultrasonic heating for cleaning. Once heated, it will expand and deform, and can't be installed back:
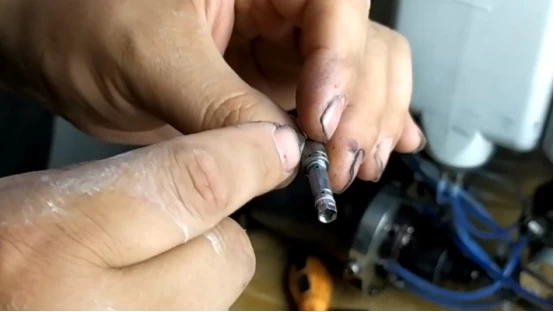
There is also our nozzle blocking is particularly strong, to repair the nozzle, we must prepare more O-shaped ring, because it is particularly easy to deform.
Normally, if the nozzle is only slightly blocked, we click directly on the "nozzle state" and then select "nozzle opening" or "solvent inhalation" in the "nozzle state", under normal circumstances, if the blockage is more severe, we choose "solvent inhalation", and then use the cleaning pot to spray cleaning fluid against the nozzle:
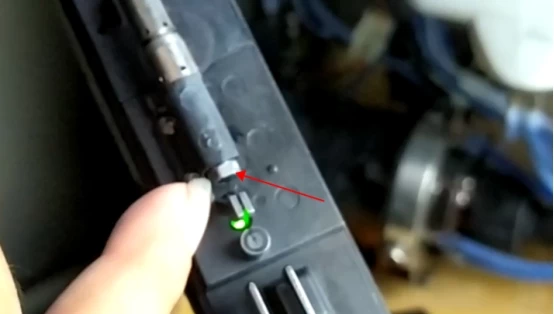
After ten seconds of spraying, we use the nozzle to open it again, and it will open until we can hear it being opened or see the ink line hit the fixed position of the recycling tank each time, indicating that the nozzle is almost open.
If the ink line hits this position for a while and another position for a while, it means that the nozzle has not been opened. If it doesn't work after more than ten minutes, we have to remove it and clean it with ultrasonic.
When we use ultrasonic cleaning, we completely disassemble it.
Or normally, according to my experience, there is no need to dismantle anything, as this is:
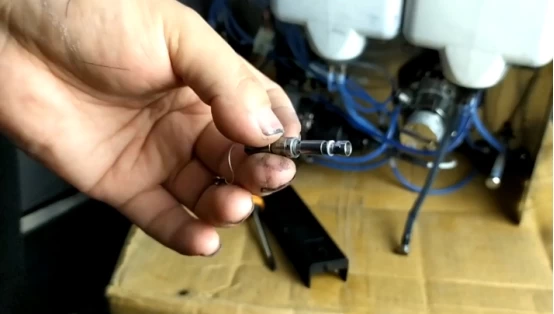
Then put it directly into the ultrasonic wave for cleaning, but don't use heating, just put it in it and let it vibrate. After the vibration, as long as it's not blocked, it's generally OK. However, it may not work if the blockage is very, very severe, but under normal circumstances, the quick solution is to use ultrasonic to clean it without dismantling it, so as to prevent the loss of its accessories.
Then, after cleaning, we put it in directly, and the wires on it don't need to be connected:
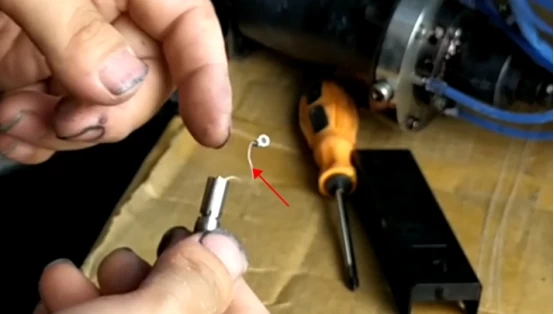
After we put it on, we directly use "nozzle to punch through", and see if the ink line is out or it is originally without ink line. Now that there is ink line, we will see the position of the ink line is right. If the position of the ink line is OK, it is straight, not slanting, then we can install it.
If it still doesn't work, we'll take it down completely.
When removing the nozzle, pay attention to the O-ring and the like.
When removing the nozzle, we first remove the screw:
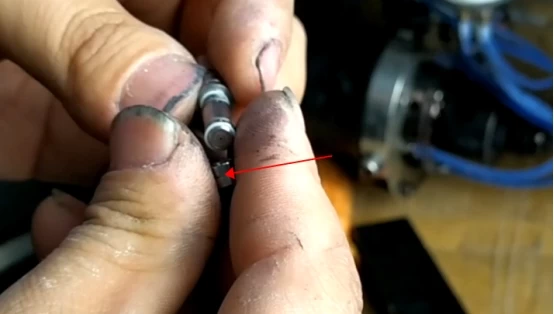
Then remove the white O-ring at the back. Don't lose the O-ring:
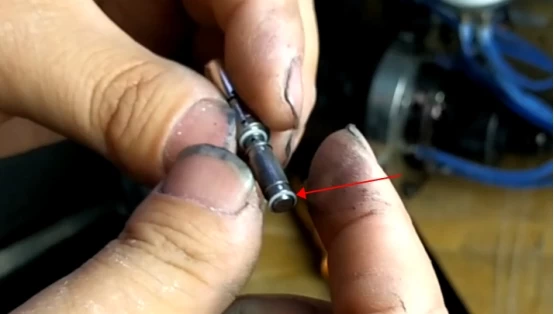
Then pull out the sleeve:
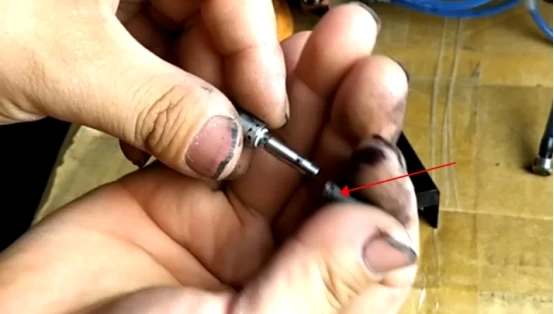
Then, remove the O-ring at the back:
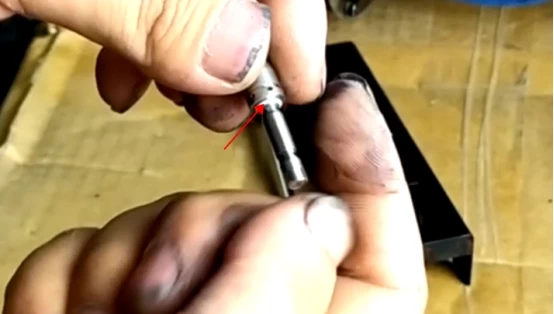
Then we must take out the crystal oscillator:
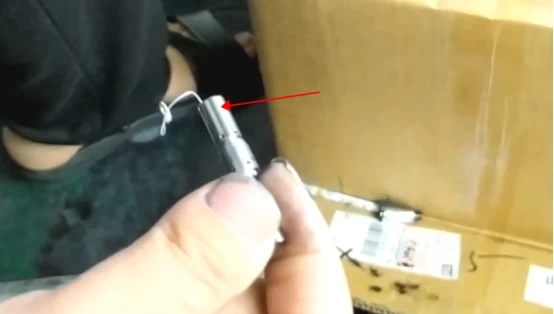
At this time, the remaining part can be cleaned by ultrasonic heating.
To remove the crystal oscillator, first of all, it should be unscrewed. After unscrewing, once it is pulled out, the crystal oscillator will be pulled out:
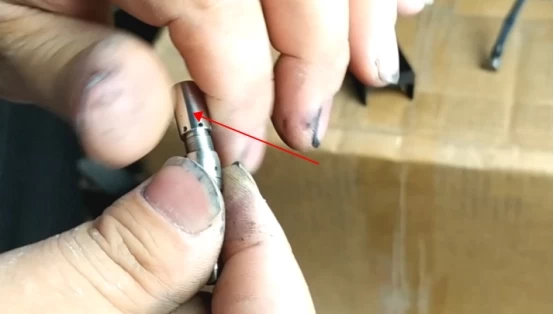
When pulling, please note that there is an O-ring here, and don't get it off:
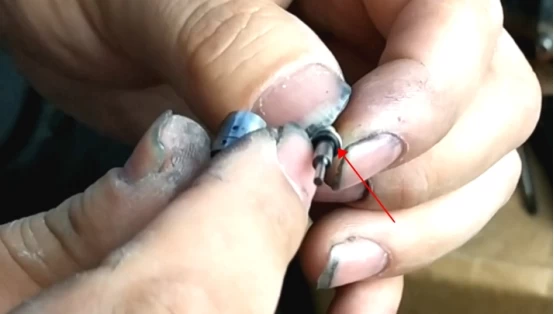
This is crystal oscillator:
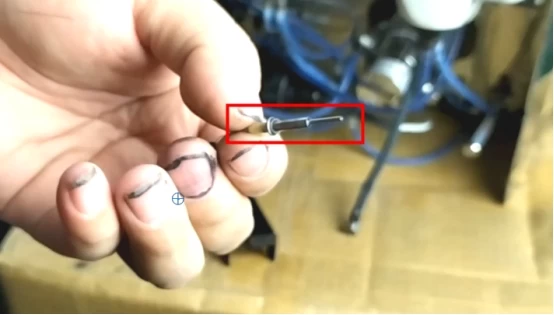
If the crystal oscillator is dirty, we can clean it, but don't use ultrasonic cleaning, otherwise the O-ring on it will be broken.
Then this is the nozzle. We can clean it with ultrasonic wave:
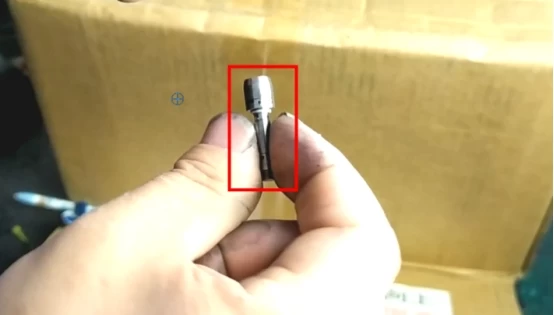
In general, if ultrasonic cleaning is used, we should put it vertically upward in the ultrasonic wave. In this way, if there is something dirty, it will enter below:
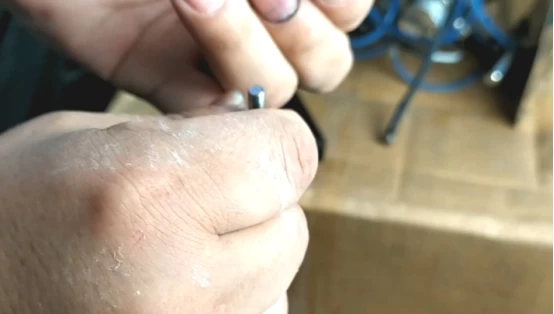
If you put it horizontally into the ultrasonic wave for cleaning like this, it will have little effect, and the dirty things will still stay in it:
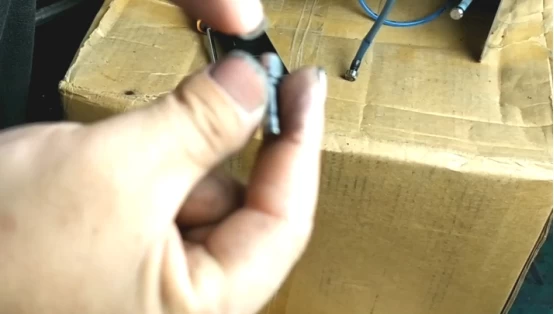
After cleaning the nozzle with ultrasonic wave, we will install the crystal oscillator. When installing, we must see whether its O-ring is still in place. Besides, the crystal oscillator's line is very thin. We should be very careful not to break it. If it is broken, it is likely that we will need to replace it with a new crystal oscillator, so we need to screw it in gently without brute force:
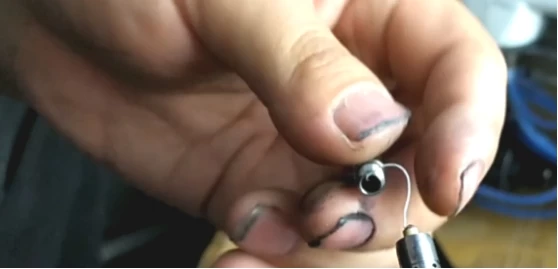
Then we put the O-rings and sleeves on,
First place an O-ring, then place the sleeve (the sleeve is not oriented, directly put on, which end is OK):
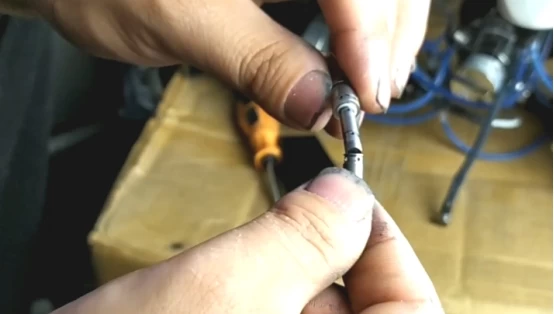
Then install an O-ring, and then install the nut:
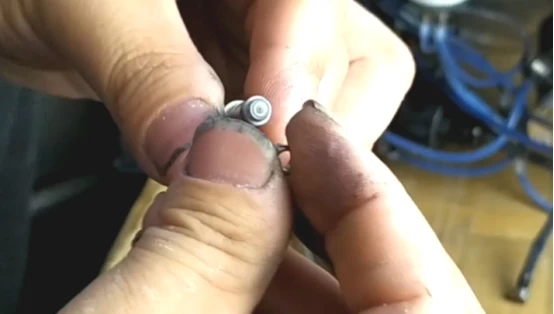
Don't lock the nut, you can tighten it first and then loosen it for two turns.
After all of them are assembled, we will insert them into the black sleeve, and then we must push it to the bottom:
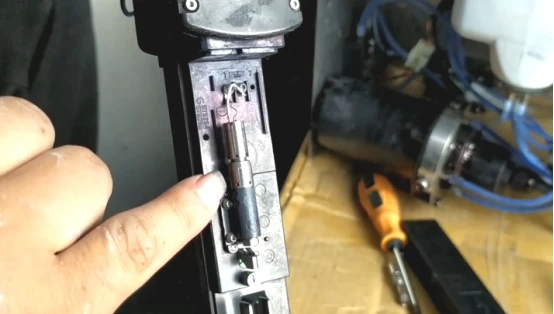
Then tighten this place:
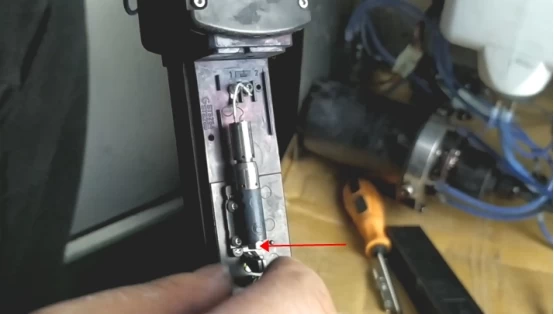
Then find a pin thinner than this hole:
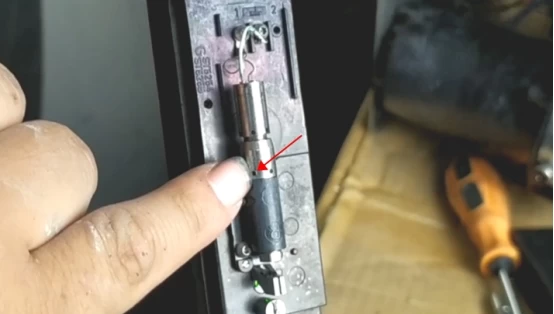
Then we fix this side to death:
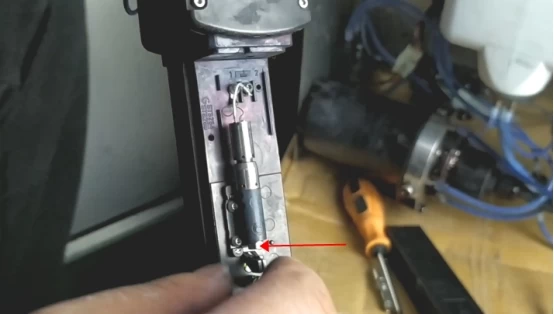
Then, we tighten this:
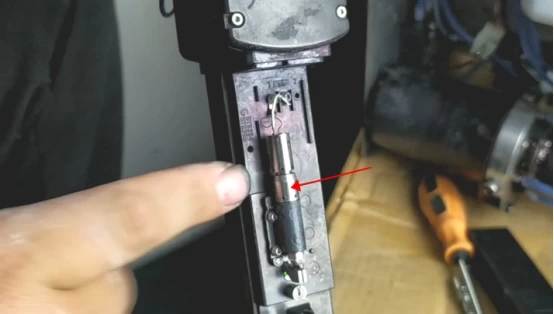
If it is not tightened, for example, if there is a gap, it will be inkjet:
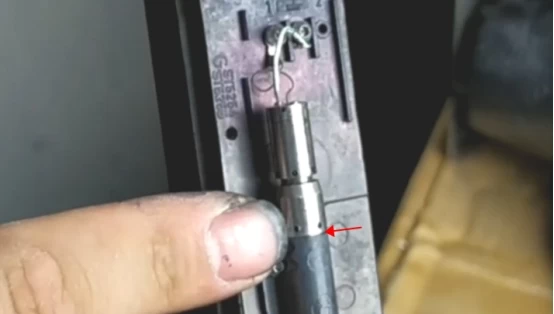
But don't screw it too tightly, because the black base is plastic, which is easy to break, and there are two pipes connected to its back. If the base is broken, we have to replace it, then we have to re connect the pipe.
If we want to replace the base, we first remove the nozzle, and then loosen the two screws:
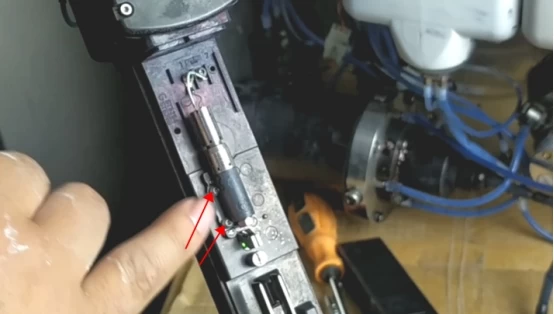
After loosening, pull out the two pipes connected behind it, and then install the new base. When installing, first insert two pipes, and then install two screws:
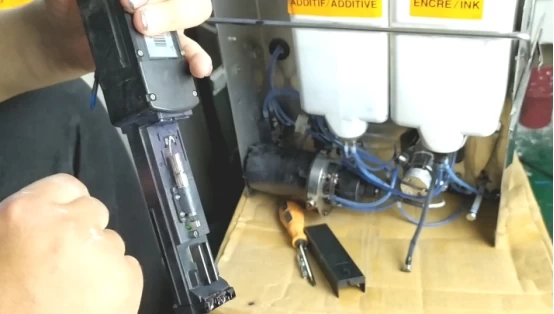
Generally, it is not recommended to move the base when removing the nozzle. One is that it is easy to break. In addition, as long as the base is moved, the ink line position must be readjusted.

