


How to remove the Nozzle- Crystal Oscillator- Nozzle Solenoid Valve- Charging Tank- Deflector Plate
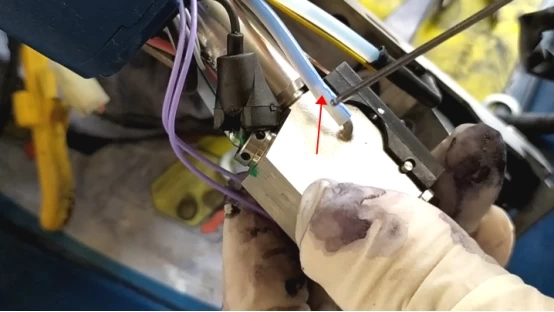
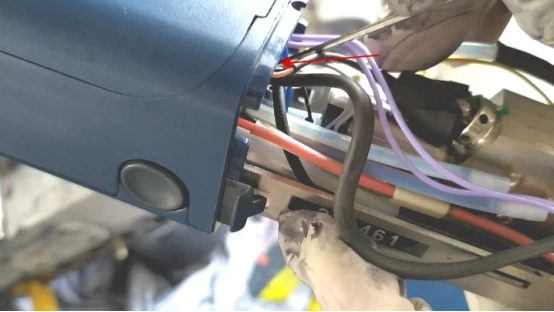
1 is the ink supply tube and 2 is the cleaning tube:
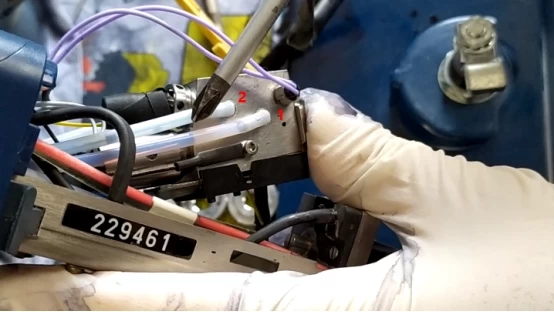
3 is the flushing tube and 4 is the recycling tube:
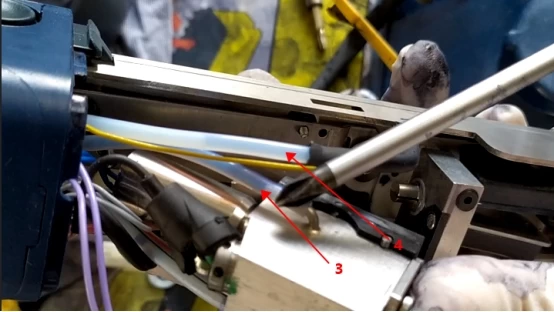
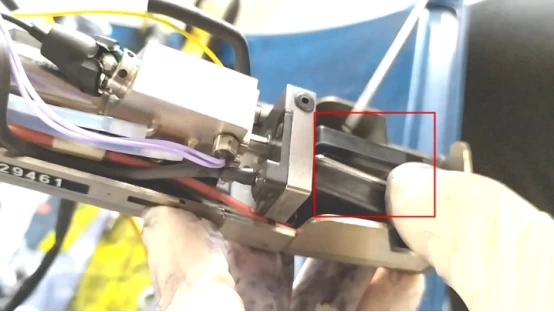
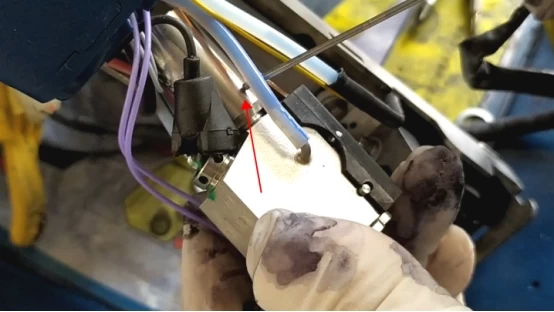
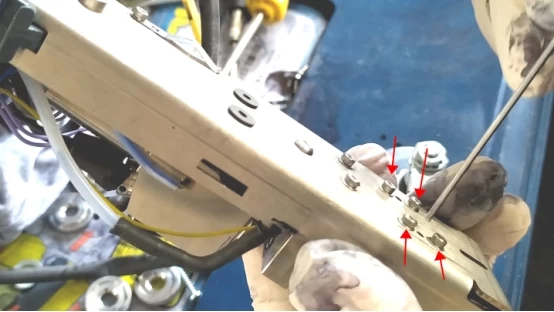
If we dismantle the nozzle, we only need to remove the four screws on the nozzle:
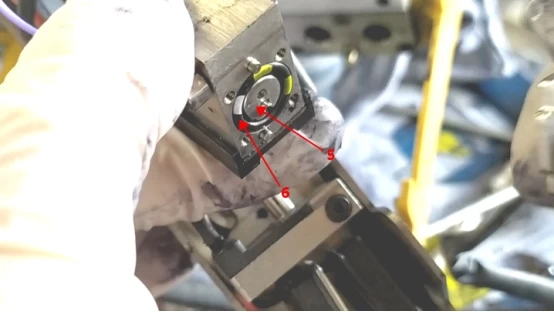
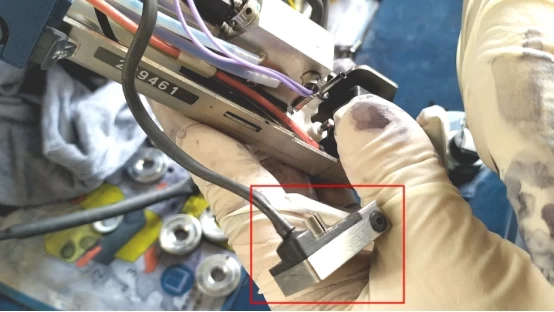
Then you can see that 5 is the solenoid valve and 6 is the O-ring:
When installing, the O-ring should be installed first, and then the nozzle should be installed. When the nozzle is installed, the side with the numbers is facing outward:
Then install the four screws on it.
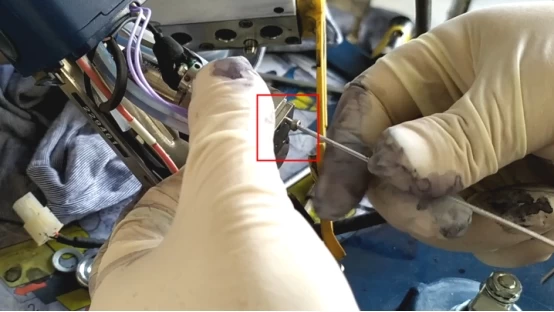
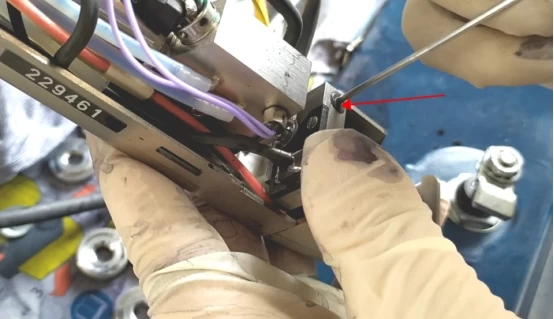
To remove the crystal oscillator, we only need to gently screw it off like this (pay attention to gently rotate, because it has a weld wire on it, which is very thin and easy to break):

If you want to remove the nozzle solenoid valve, we need to remove the crystal oscillator first, and then remove the tube:
Then we spin off this solenoid valve counterclockwise:
If you want to remove the charging slot, let's loosen this screw:
The charging case can then be unplugged directly:
If you replace the charging slot, you only need to put the new installation on it, tighten its screw, and then put its wires through this hole, which two wires it originally connected, and still connect the two wires:
The replacement of the deflector plate assy is the same, the original deflector plate assy is connected to which line, and the new replacement is still connected to which line.
If we remove the deflector plate assy, we remove the four screws:
The deflector plate assy can be removed: