


How to maintain Hitachi PXR inkjet printer?
Let's see how this machine needs to be maintained,
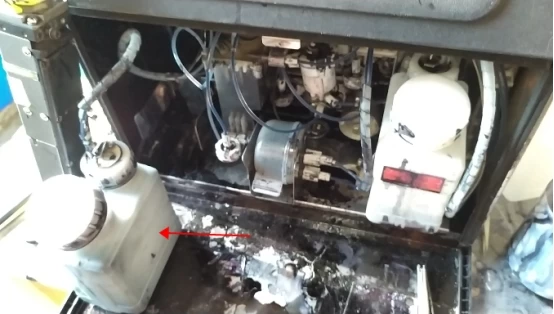
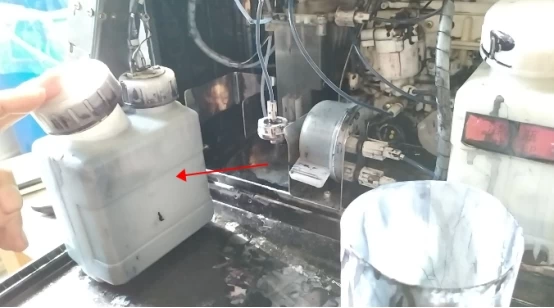
we can pull the ink box out:
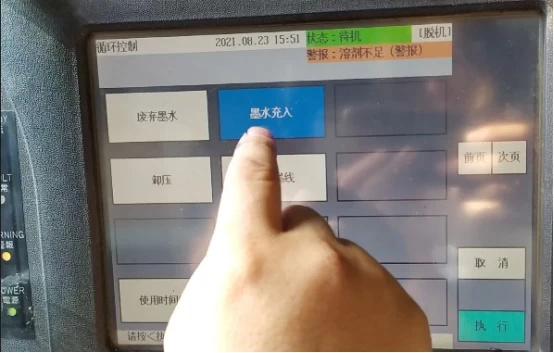
Let's see how to carry out maintenance, first of all, we have to carry out ink removal, discharge ink in the "cycle control" in. In the main interface there is a "maintenance operation", in the "maintenance operation" there is a "cycle control", in the "cycle control" there is an "waste ink", we click on "waste ink":
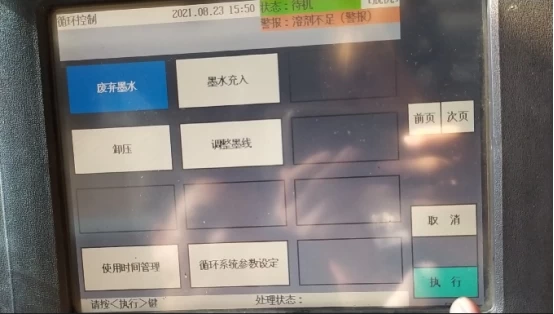
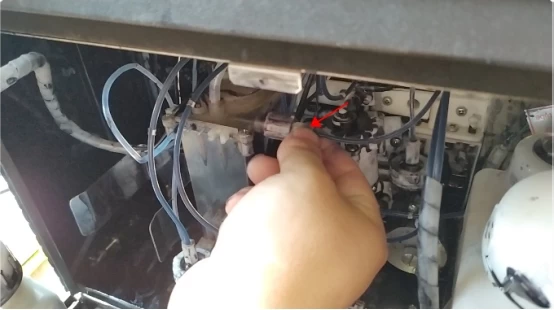
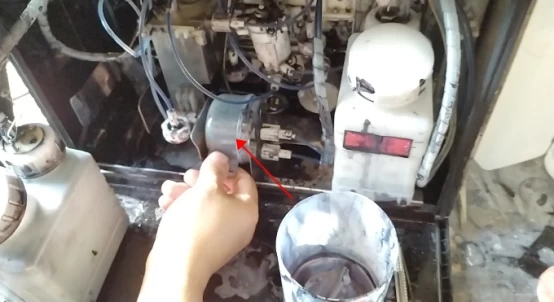
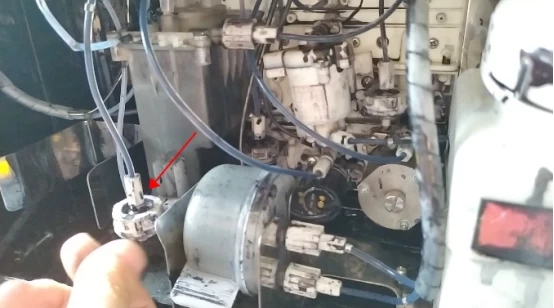
Then, before clicking to execute, we need to spin the recycling tube down and put it in the waste bucket:
Then we click Execute to drain the ink.
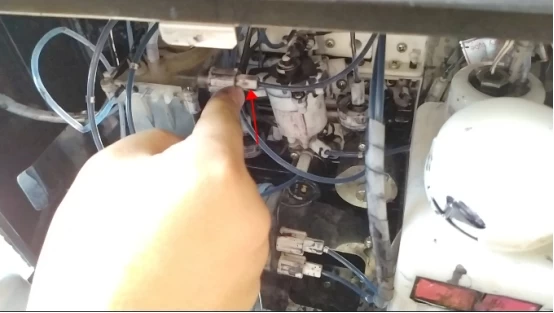
Drain the ink for about 4 minutes, and when the ink is completely drained, then we'll get the tube back to this side and tighten it:
Then we pour the ink from the ink cylinder into another clean container, and then pour the cleaning liquid here, probably full:
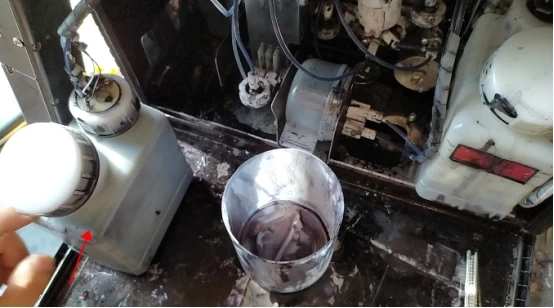
After pouring in, we select "Ink In" and click Execute, then for about 4 minutes, then execute Ink Charge, which will fill the mixer:
Then after the ink is filled, the ink line will automatically hit down, we see if the ink line position is correct, if the correct, we can let it cycle, loop about 20 minutes, we click on the "waste ink", and then repeat the previous action, put the recycling tube into the waste tank, and then click to execute, its waste liquid discharged, drained, and then installed it.
Repeat the previous action, pour the cleaning liquid into the ink bottle, and then once again "ink filling", so back and forth cycle, cycle 3-4 times, each 20 minutes or so, let it cycle, cycle after, and then wait for our last time, click "waste ink", the ink in the mixing tank discarded.
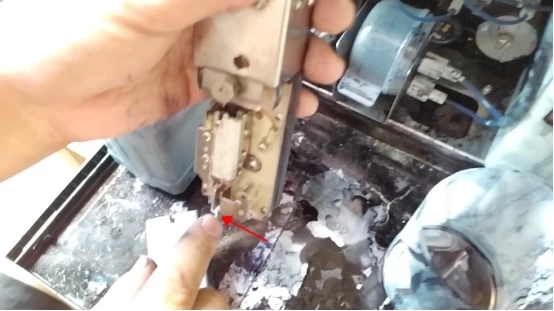
Once discarded, we can then replace several filters, one of which is the main filter, which is replaced directly:
If you want to replace the main filter, first unscrew the connector and replace it directly:
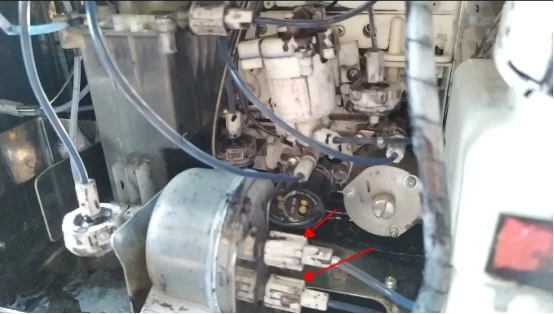
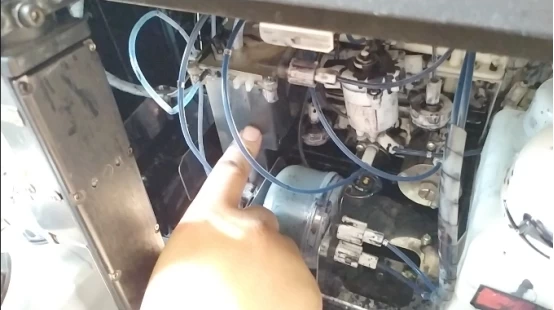
Then there are the three filters, which are a total of four in the line:
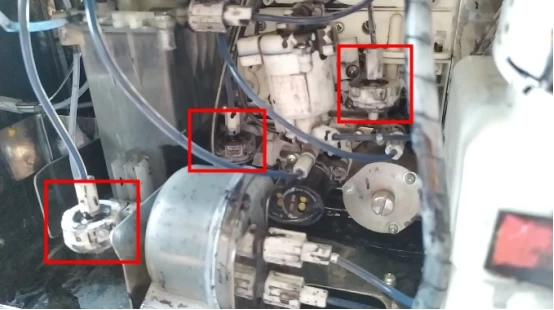
Unscrew this directly, there's a filter in it, we can take it off, and then there's a little filter, we replace it, and then tighten it:
The other two filters are the same, but the main filter needs to be replaced one, mainly so much.
Then we add new ink here:
Then click "Ink in" and the ink will fill in, and then we need to see if the ink line is in the correct position, if the nozzle is blocked, and then we mainly need to focus on the "run management" parameters, pressure, viscosity.
If the viscosity is not normal and the viscosity is too high, we can inject some solvent into the mixing cylinder:
We can inject a little solvent directly into this recycling tube, inject a little bit, in the case of ink wire, directly into it, will also go to the mixing cylinder:
But usually, because you have just cleaned the line, the pipe has residual solvents, and then its viscosity is generally low, rarely high viscosity. Unless the new ink has a high viscosity, it will be high.
There is ink pressure, to see if the pressure is normal. If the pressure before we maintain is also normal, and then now it has been maintained, the pressure is not normal, first of all these four filters have been replaced with new, no problem; We have already talked about how the filter of 9 valves is replaced, we need to see if the filter of 9 valves is blocked, we can take it off, and then use ultrasonic cleaning filter, or replace a new one can also.