How to install and remove the ink tank and solvent tank of CF-7500 inkjet printer?
This is the ink cartridge slot, we will install the ink tube here, put it tightly:
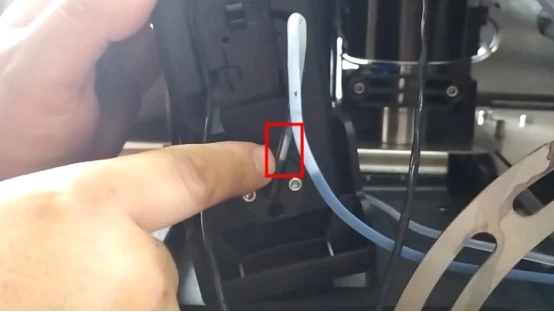
Once the pipe is installed, get it stuck in the slot:
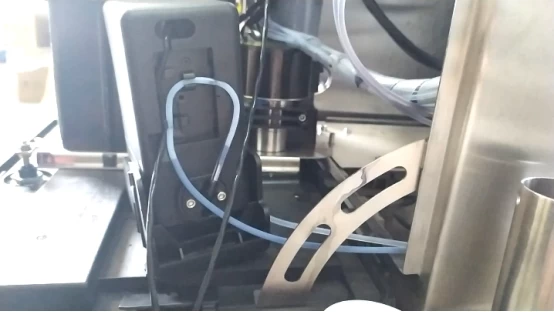
Then put the lid on and the screw on:
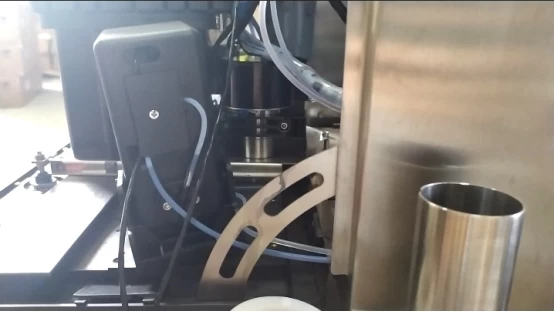
We've installed the tube in this ink box slot.
Then we install the solvent box tank. The installation of the solvent box tank is the same.
Let's insert the solvent pipe first, and then clip the pipe into the slot:
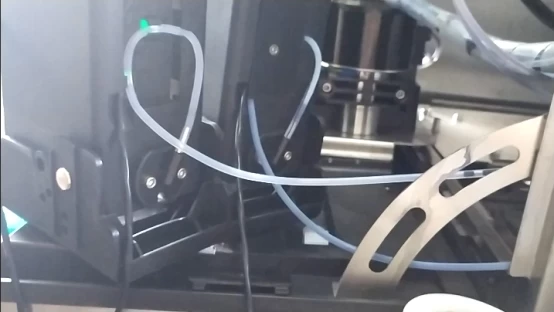
Then we cover the cover and install the fixing screw:
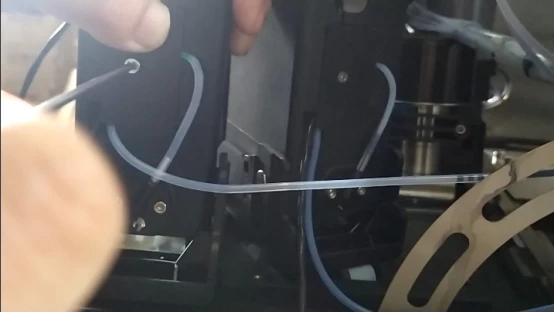
After the pipe is installed, we install the cable:
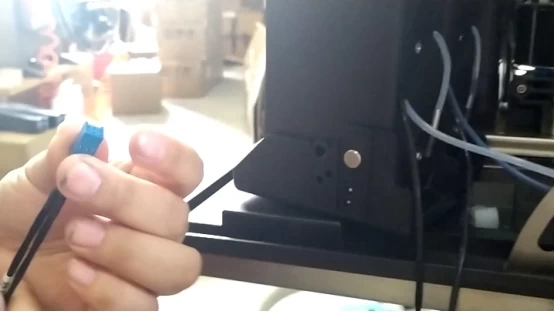
Here is a slot. First, we insert the cable from the bottom up:
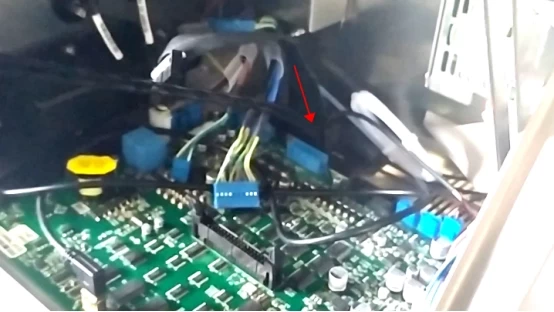
Then there's a slot here, and we'll put the cable through from the bottom up:
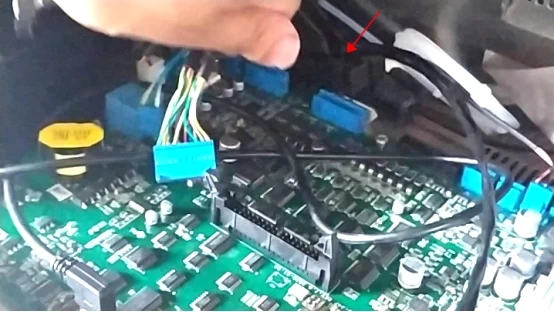
Then we install the fixed screws of the solvent and ink cartridge slots:
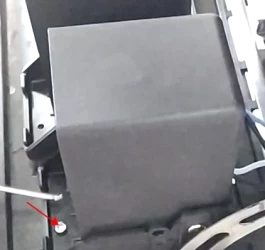
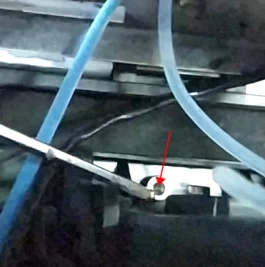
There are two screws at the front and back of the ink box slot and the solvent box slot. When removing, remove the two screws at the front and back respectively.
The ink box slot and the solvent box slot are installed:
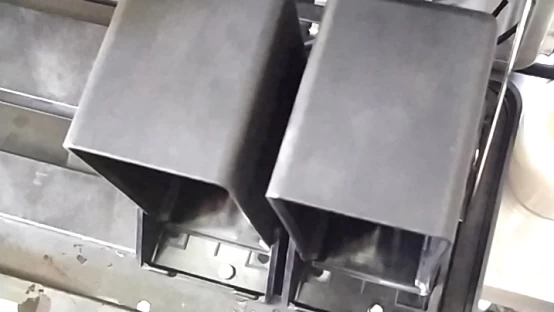
After installation, plug the cable in this position on the motherboard:
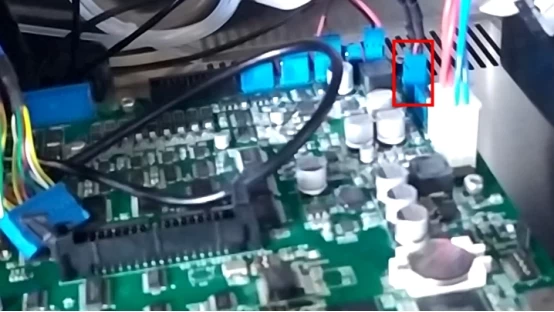
Let's sort out the wires, put the black lines in the ink and solvent cartridges here, and then we'll fix the lines:
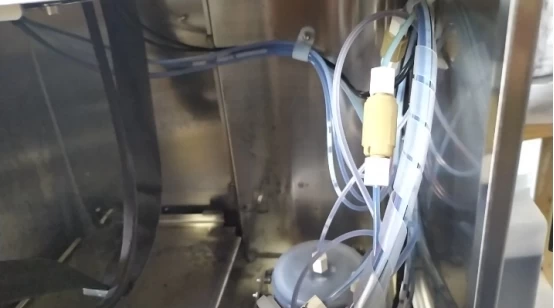
Then we must fix this black fixed block:
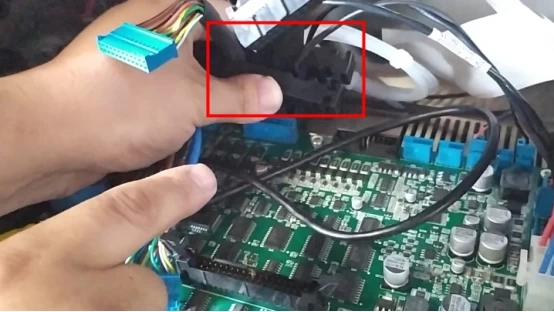
This fixed block, the line to wear in. It can be dislocation, this is two pieces, it is stuck together, we do not use brute force to force them apart. We need one finger up, one finger down, stagger them like this, and this fixed block can be removed:
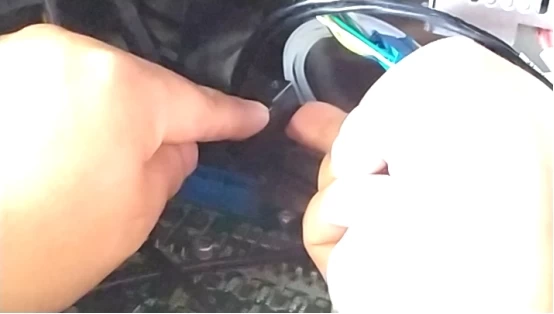
We must pay attention to when we dismantle, this fixed block to remove, this row head can be removed from below, otherwise this row head is not able to get through:
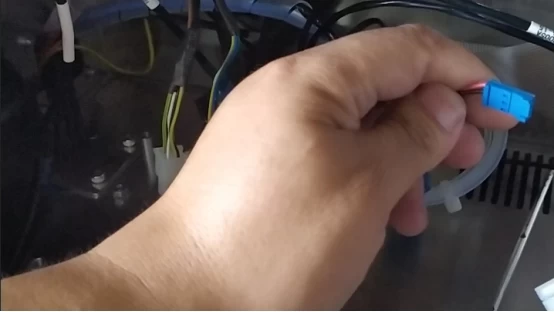
Then we install the fixing screws of the fixing block:
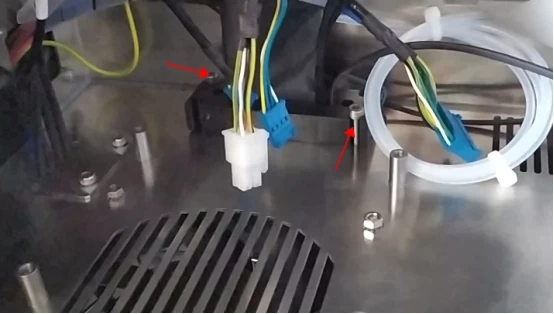
If the screws are not easy to install, we can first remove the motherboard, we remember how the lines on the motherboard are installed, and then remove the motherboard, so that the operation will be very simple.
After installing the fixing screws, install the motherboard and insert the lines of the ink box slot and the solvent box slot in this position:
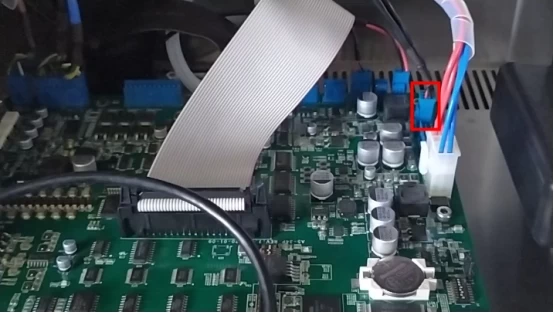
In particular, it is important to remove the wire before removing the ink box slot and solvent box slot. If you remove the wire, first unplug it:
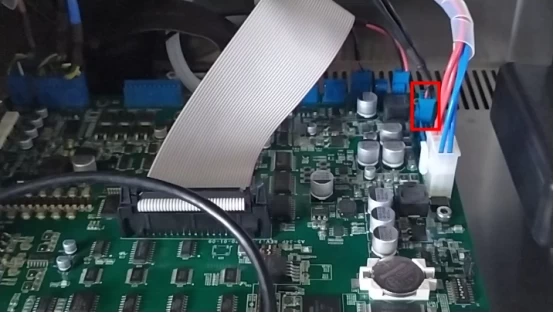
After pulling it out, because the cable is connected to the black fixing block, if it is difficult to remove, we need to remove the motherboard first, and then remove the two diagonal screws of the black fixing block, and then we need to stagger the black fixing block up and down. After staggering it, the cable head can be removed from below:
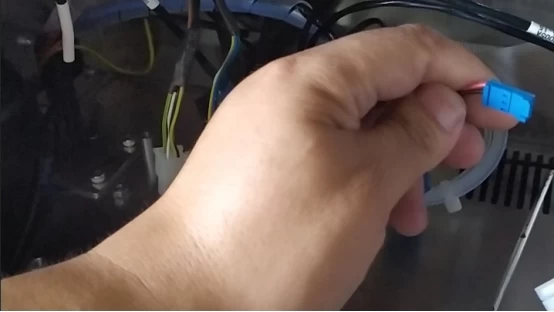
Then we can remove the four fixing screws of the ink box slot and the solvent box slot. After removing the four screws, the solvent box slot and the ink box slot can be removed.

