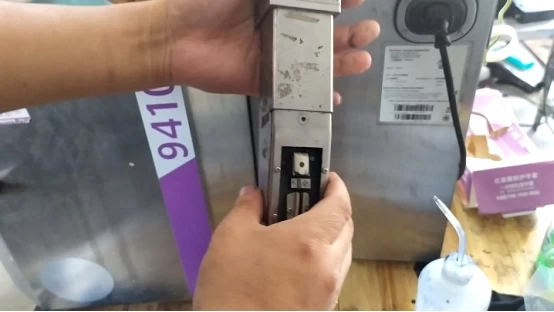


How to disassemble and install the print head of Imaje 9410 inkjet printer?
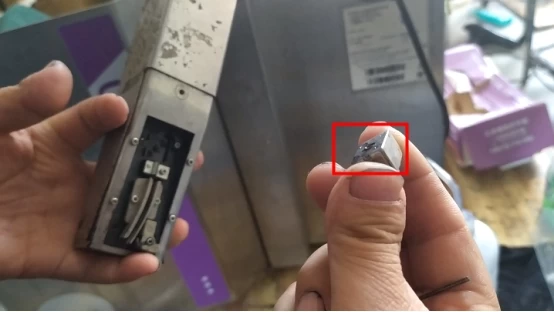
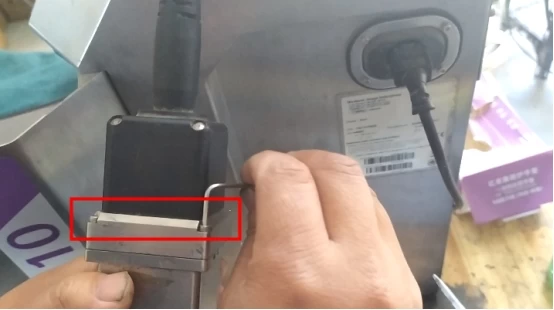
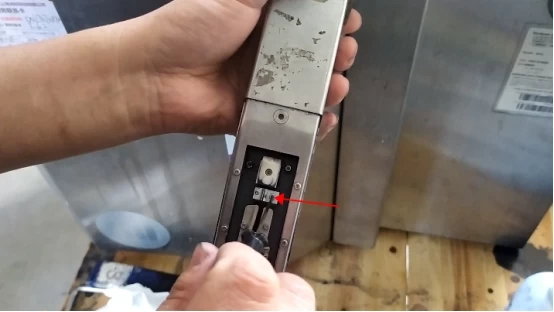
Let's see how this nozzle is removed,
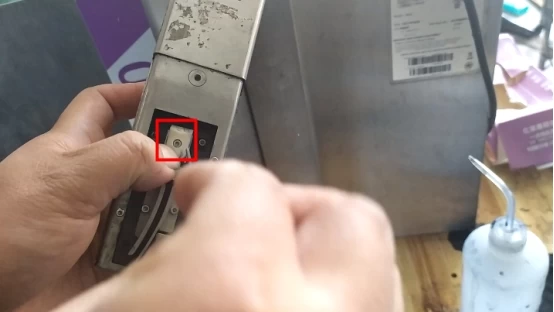
unscrew the screw:
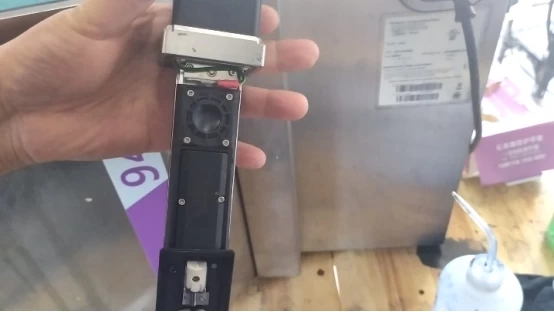
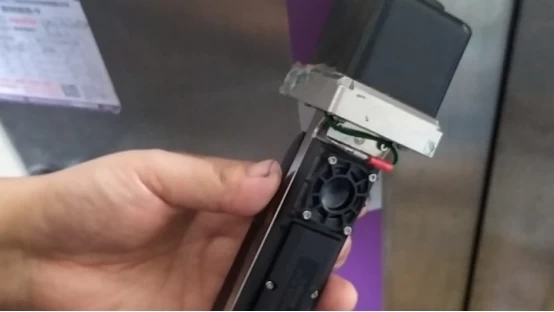
Then the nozzle was removed:
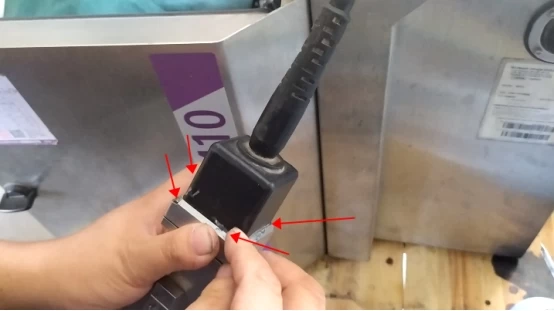
The installation is the same, get it stuck, and tighten the screw:
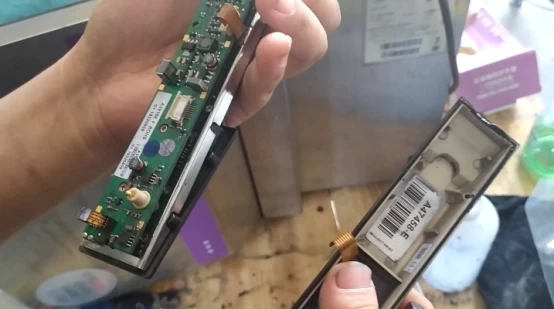
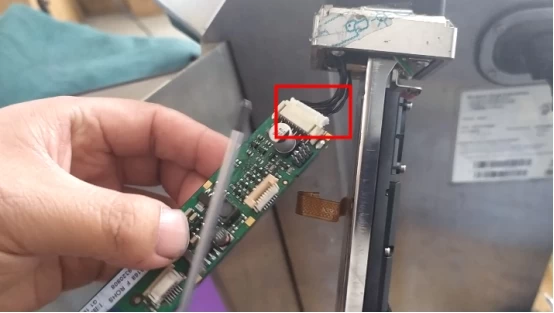
If you want to remove the recycling tank, first unplug the line on the rear sprinkler board, then remove the screw, and then pull the recycling tank out:
Let's see how the sprinkler board is replaced,
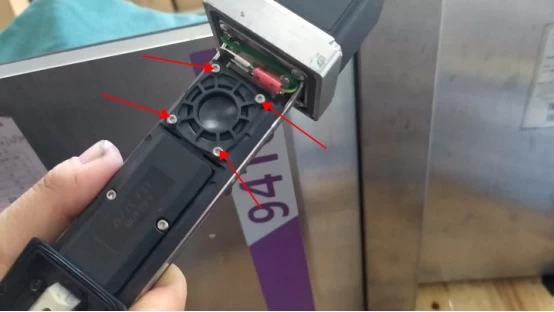
and we'll first remove the four screws:
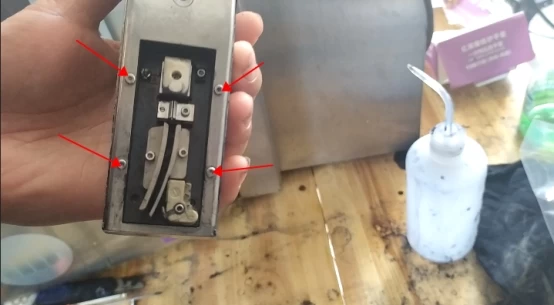
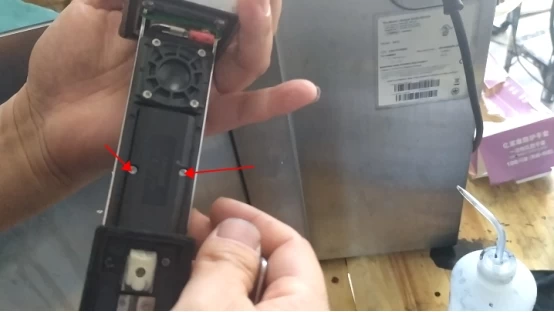
Then we take off the four screws above:
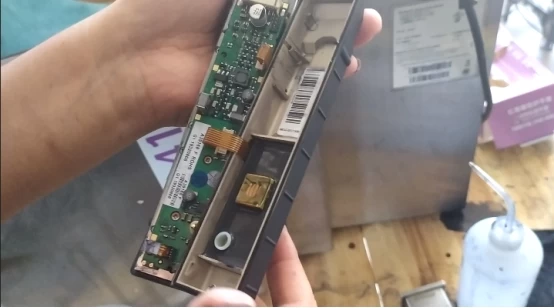
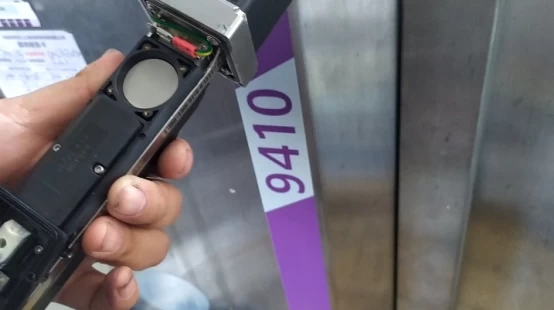
Then this one can be taken away:
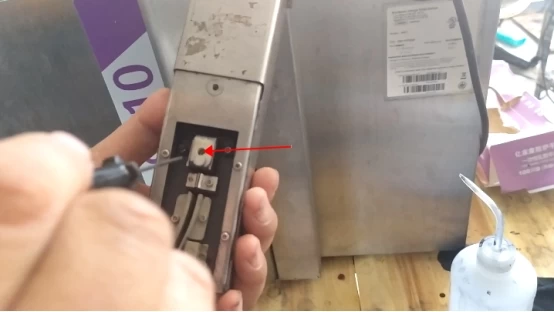
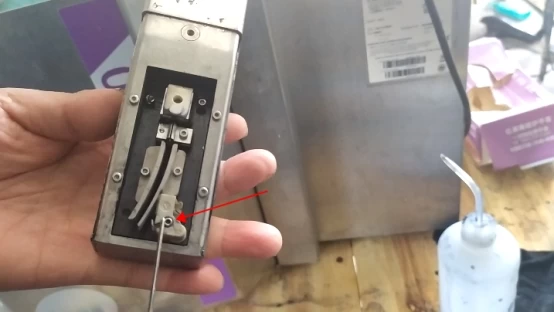
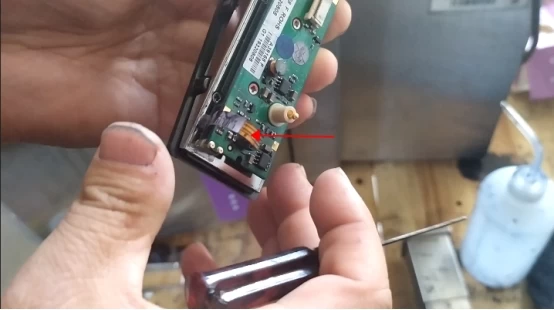
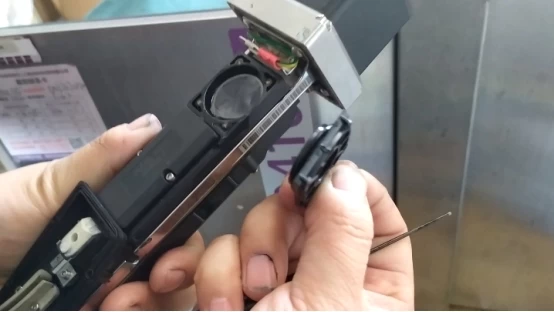
There is a nozzle solenoid valve here, if we want to remove it, put it on top of two screws can be removed as soon as it is loose:
It's the same when you install it, just get stuck in it and tighten the screws.
Let's look at the back, we take the back cover off, the circuit board is here. Remove a few screws from the back cover, you can open the lid:
Then unplug the line and the lid can be taken down:
Then, if we want to take this board apart, we just need to unplug the wire:
This row is directly connected to the recycling tank, if you want to remove the recycling tank, first remove this row, and then loosen the screw, and then pull the recycling tank out:
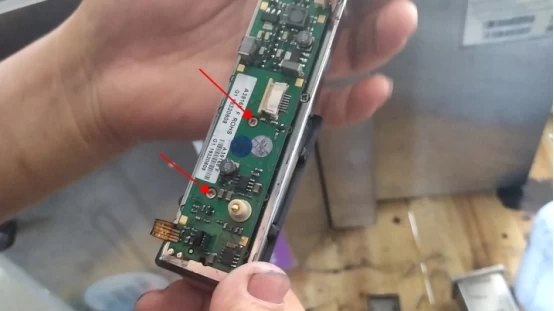
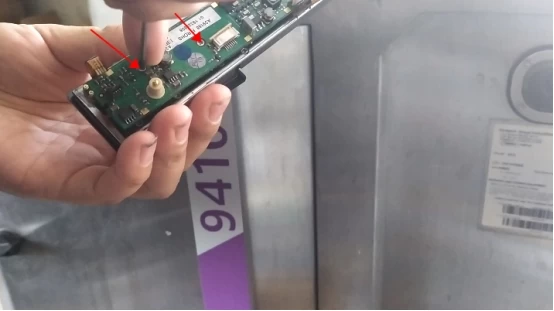
Let's look at the circuit board, and the two screws on it can be removed:
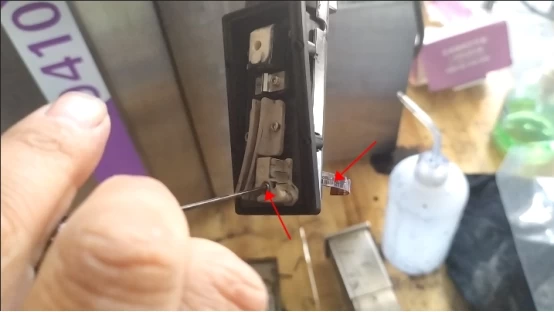
We took the line down,
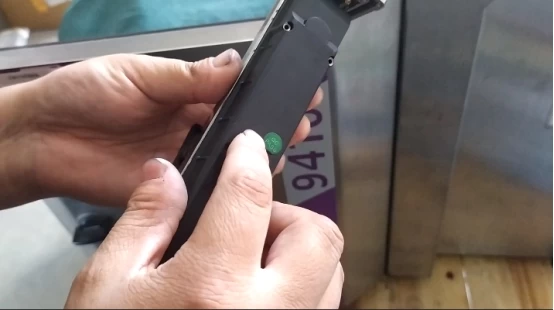
pulled it up, and as soon as we pulled it out, the line was pulled out:

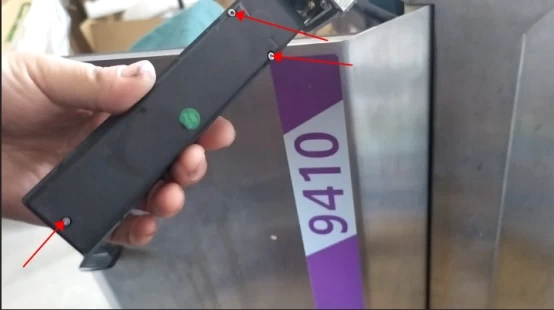
Then, after unplugging the top row, the board can be removed:
When installing the circuit board, install two screws to secure it:
Then, plug in all the cables, and then close the cover:
Install the screws:
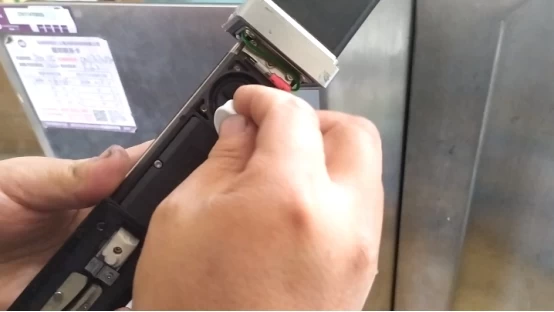
Then we look at how to replace the nozzle filter.
Remove these four screws:
Then we take it off:
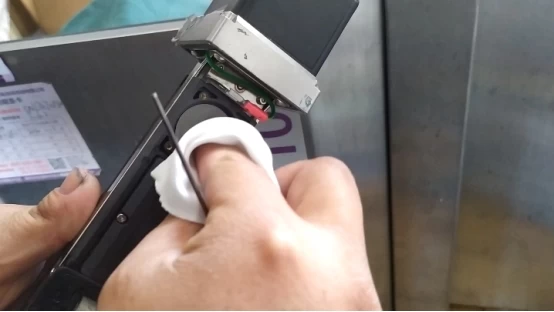
Here's a filter, let's wipe it:
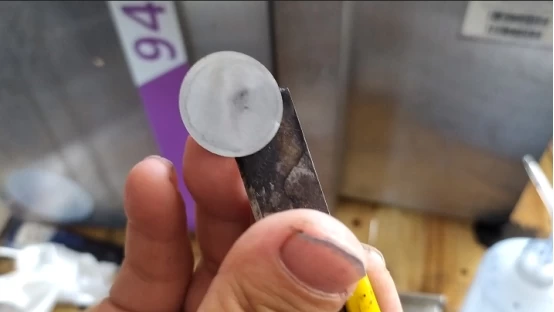
Then take it out:
Then let's wipe it:
Then we can change the new one in(The O-ring can choose not to replace):
Once the filter is in place, we can install the lid on it:
Then we put it on:

Let's install the screws here first:
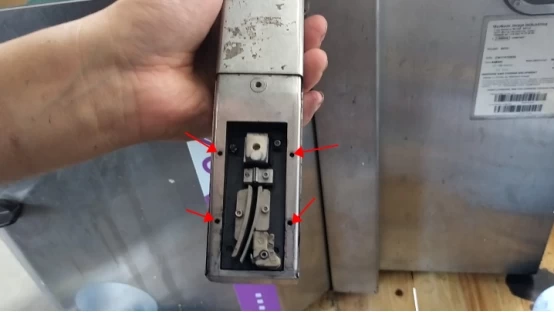
If you want to replace the charging slot, also loosen the screw:
Then there's a line on the back of the board, and after pulling out the line, it's pulled out.
If it will break also generally the circuit board is broken, charging and recycling slots rarely break.
Let's install these four screws:
We're done installing the nozzle cover: