


How to clean the nozzle of the Domino white ink machine?
Recycling failure, when reporting recycling failure, how do we deal with it?
First we press the wrench key:
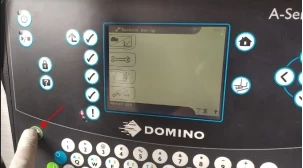
Then press the wrench key:
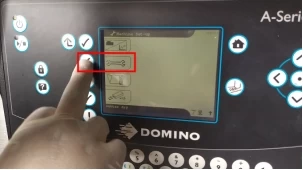
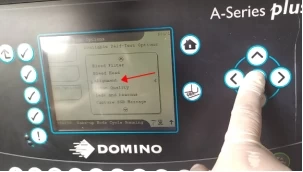
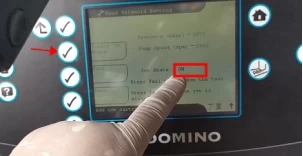
Then press the diagnostic interface, select the clear nozzle, click OK. If gutter dry is displayed, we have to eliminate it first, or we can't clean the nozzle. We click Fast Shutdown, then this fault has been eliminated.
After we've removed it, we choose Clear Nozzle and press OK. Then click Next and you'll see that the nozzle is clearing.
At this point, we take the cleaning pot and spray a little cleaning fluid into the hole in the middle of the nozzle.
It clears the nozzle once for about 1 minute or so, after clearing then we clear it again, and then we see if the ink wire that comes back can hit the recycling tank.
If it doesn't hit the recycling tank, we'll continue to select Clear Nozzle, then take the cleaning pot and spray the liquid against the hole in the middle of the nozzle:
It can be washed several times more until the ink line from the nozzle is in the correct position in the recycling tank. Sometimes we need to wash it many times to unblock the nozzle.
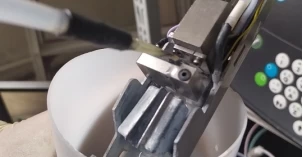
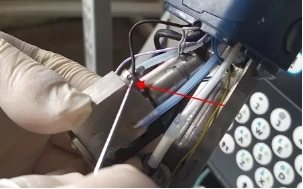
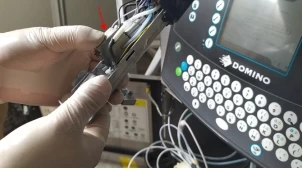
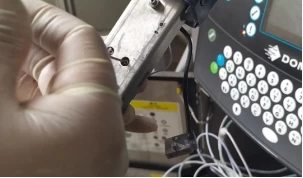
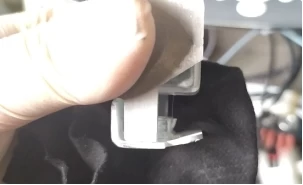
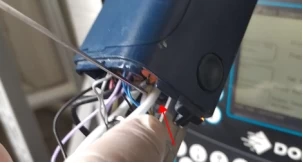
If it's really not easy to clean, we can take this charging slot off. We loosen the screw on the charging slot, and then we unplug the charging slot and we can see the nozzle:
Then we click on the clear nozzle.
This cleaning pot can spray the cleaning fluid head-on at this hole in the nozzle:
We will wait to see if the ink wire can hit the recycling tank, if we clean many times but this nozzle has been blocked, its ink line can not hit the recycling tank, that is to say, the nozzle plug is more severe, then we need to remove the nozzle and then use ultrasonic cleaning it.
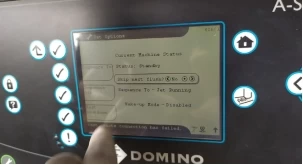
Then first into the diagnostic interface, and then into this interface, in this interface when there is no pressure, so say no speed, in this interface, we can remove the nozzle:
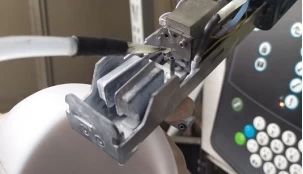
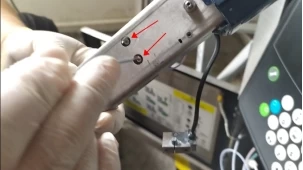
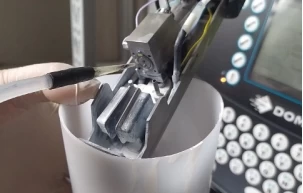
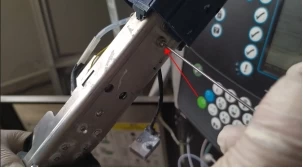
First look at how the nozzle is removed, if we want to remove the nozzle, we first need to remove the two screws behind the spray gun:
Then we pull it up:
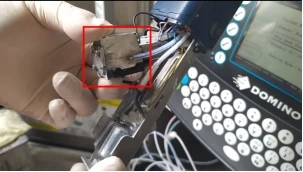
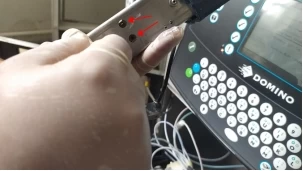
Note that do not touch the line of this crystal because it is very fine and easy to break:
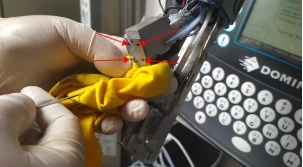
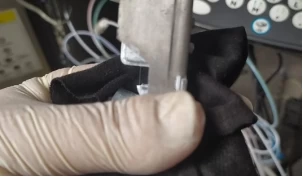
We took the four screws off the nozzle and put a cloth underneath when we took them down because it would have liquid flowing down because the hole in the nozzle was blocked and the pressure couldn't come out, so it would be a bit stressful here:
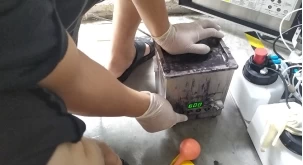
After removing it, we put the nozzle in the ultrasound:
Then pour the cleaning fluid, the liquid level of the cleaning fluid must be completely above the nozzle, and then set it a time, about 600 seconds, and then we press the key to start cleaning:
When the nozzle is being cleaned with ultrasonic waves, we can also spray it with cleaning fluid:
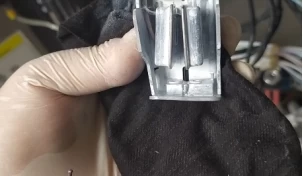
We install the cleaned nozzle on top of it, and when installing it, be aware that this hole in the nozzle is stuck here,then the side with the number 60 is facing out:
The four screws on top of the nozzle are installed, then we install it on this and make sure it gets stuck:
If it's not stuck, the two screws on this side won't fit:
Then we turn it over, and then we install the screw, don't tighten it, wait for the other screw to be installed, and then we tighten the screws on both sides:
Because the nozzle has been moved, the position of the ink line needs to be repositioned.
After installing the nozzle first, we return to the diagnostic interface, and then we select Clear Nozzle again.
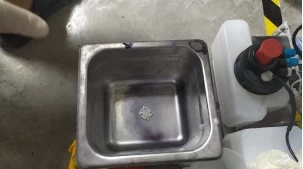
Then we take a waste bucket, put the cleaning pot against the nozzle hole, and spray the cleaning liquid.
We look closely to see if the ink line can hit the recycling tank inside, if not, but also a little bit, we choose Alignment to adjust the ink line, click OK:
Then click Next to see, now there's pressure. let's take a closer look at where the ink line is now, and now there's no ink line down, so we click this key to open the ink line:
Then let's see where the ink line is sprayed.
From the side, the ink line did not go into the recycling tank inside, too down, we have to turn it up:
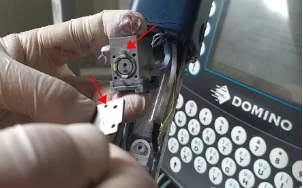
Let's adjust the ink wire up, and first we loosen the fixing screw:

Then we need to adjust the screw, which is used to adjust the upper and lower, and then we loosen it out:
The ink line looks almost in the middle of the recycling tank, which means that the upper and lower positions are right:
Then let's look left and right, it should be left, and now this position is OK:
We have to fine-tune it slowly, not all of a sudden to adjust a lot, we need to adjust bit by bit, so that we look at it head-on, it is a bit left-leaning.
If we think of the recycling tank as a circle and divide the diameter into four parts, the ink line should be positioned 1/4 of its left.
After we adjust it, if the left and right position of the ink line is not right, we should adjust the screw on this black post, and then we can turn this screw to adjust the ink line to the left or right:
After we've adjusted it, we tighten the fixing screw:

Then we'll see if there's any ink on this charging tank, and if there's ink, we'll clean it up.
Then install the charging slot, then tighten the screw and the ink wire is adjusted.
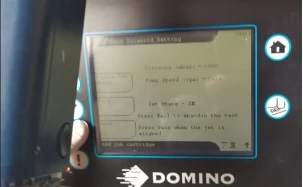
After adjusting, we turn off and select Pass on the screen:
Then when we adjust the ink line, we must get a lot of ink here, we need to wash the ink clean, clean the place with ink on it. After cleaning, we must blow it dry, then we turn on normally to see if the ink line position is adjusted correctly.
The ink line has hit the recycling tank, which means that we have cleaned the nozzle.
When you start powering up, the ink line will come out and dirty the recycling tank, and then we'll clean it.
And now that the state is Jet running, we change it to Ready to print.