


How to assemble Imaje 9020 inkjet printer ink core?
How to assemble Imaje 9020 inkjet printer ink core?
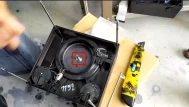
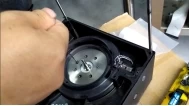
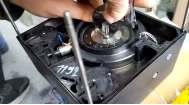
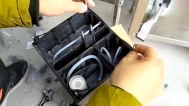
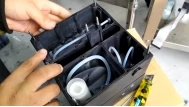
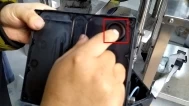
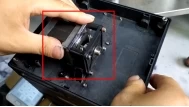
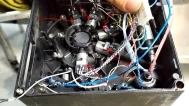
Now it's been taken apart by me:
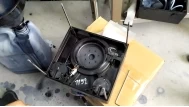
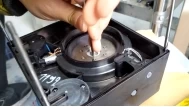
Then the first step, let's see how the diaphragm is installed,
First we'll put this on:
Then put the diaphragm up, the diaphragm has no positive or opposite:
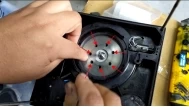
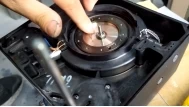
this is a vacuum, let's install it:
Here are holes, we put it round well, holes must be one-to-one correspondence:
After installation, we put the fixing piece on, the hole inside also has to correspond one by one:
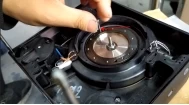
At this time, we can put the screws on,do not tighten them all at once,After the screws are installed, slowly tighten them:
Then we tighten them one by one:
Let's install it:

Then, install the screw:
Be careful when installing, do not scratch this surface.
Install a screw here:
Then, hold it down and tighten the screw in the middle:
After tightening the middle screw, remove the outside screw:
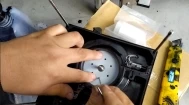
Once this is installed, we will install another diaphragm,
Let's match the holes in the inner ring first, and the outer ring doesn't care about it first:
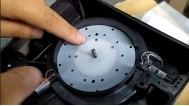
Fix this first:
Put the screws on and tighten them one by one: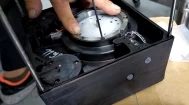
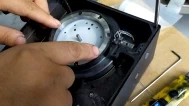
Then we'll install this,look for holes:
Let's screw the screws:
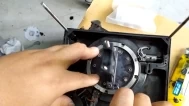
Tighten the screws and the diaphragm is installed: 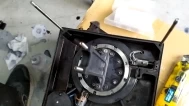
This do not install the opposite, its holes are one-to-one corresponding:

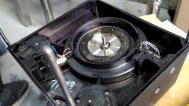
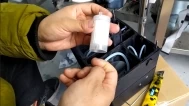
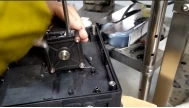
At this time we can replace the main filter.
Unplug it, and then we'll just install it mouth-to-mouth:
We fixed the rubber ring:
Put the top cover on,This is for the main filter:
So that's the direction:

Install the screws on:
See if there's a place that's not in place, check how the seal is:
We're going to install the screws around it, there are 5, 6 kinds of screws in total, don't install them wrong.
Be sure to install it in place, and the screws must tighten:
Then install this:
Don't tighten it too tight:
Then, the four screws are slightly tighter, not very tight:
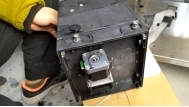
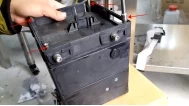
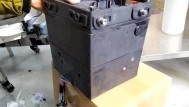
We'll have the ink core installed:
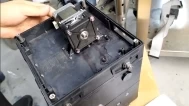
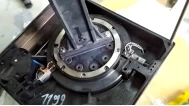
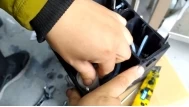
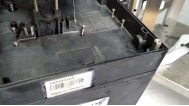
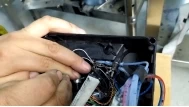
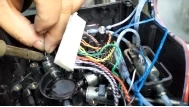
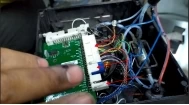
Then we look at the back, we look at how to remove this valve,
first of all, this ink core plate to remove, remove the ink core plate, we have to first pull out these two lines, and then the ink core plate two screws removed:
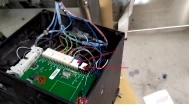
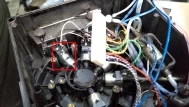
Then unplug the remaining lines:
Then, remove the screws here:
Take it off:
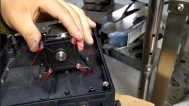
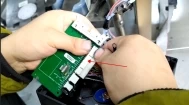
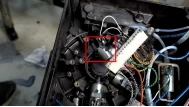
These are electronic valves:
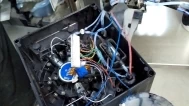
Let's take the No. 0 valve off:
All right:
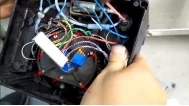
Solenoid valve installation:
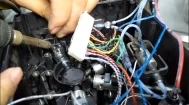
Solenoid valve installation complete:
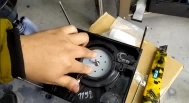
We put the pressure sensor on:
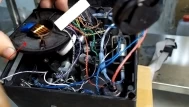
Then, install it up:
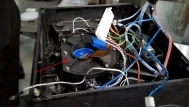
If you install the ink core plate, plug the wire in first:
Install the screws:

The whole ink core is done: