


How does the Domino A320i supply ink for the first time work?
First we need to light up the screen. Here's an open key, press and hold for 3 seconds without releasing, the machine will boot:

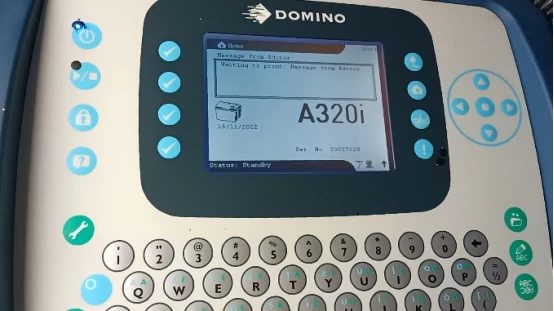
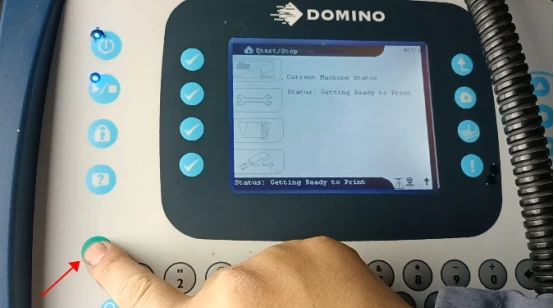
We wait about 1 minute and it will be fully powered on:
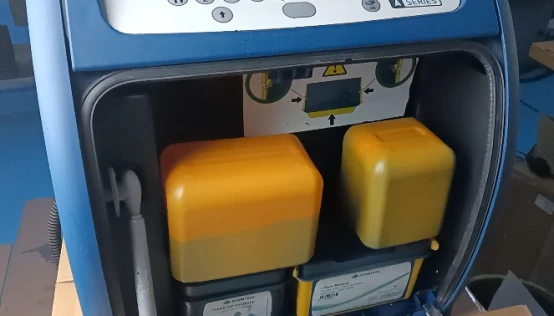
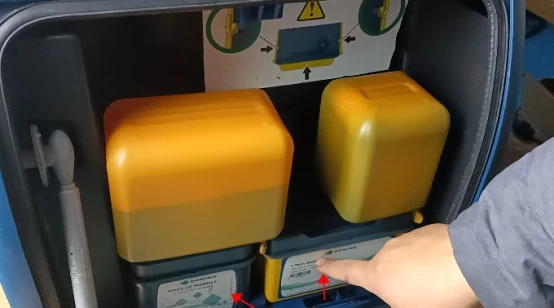
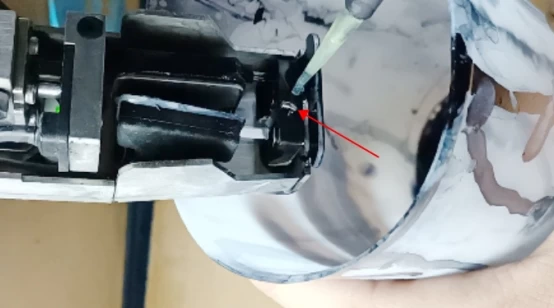
Then the first time we offer ink, we unscrew the lid below and open the lid. Where 1 is a solvent tank, the solvent is placed; 2 is the ink tank, which puts the ink:
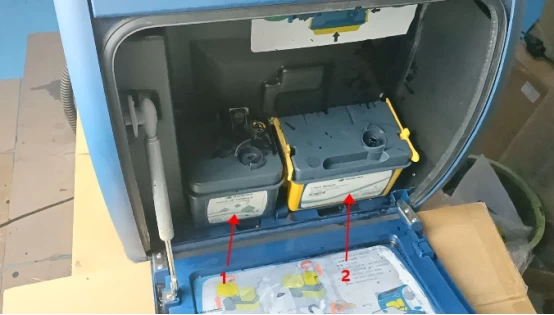
We insert the bottled solvent and ink on top of each other:
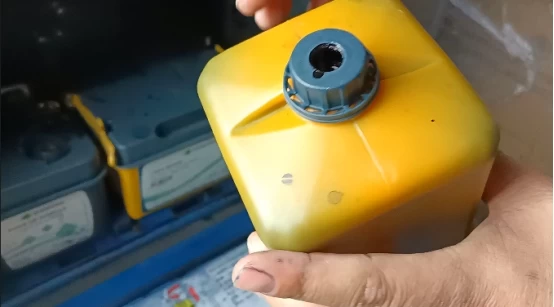
Note: The mouth of the bottle should first be unscrewed with a wrench before inserting it on top:
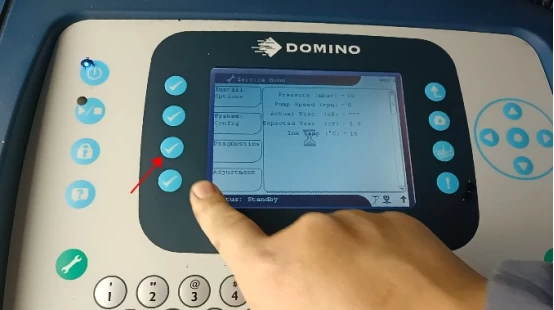
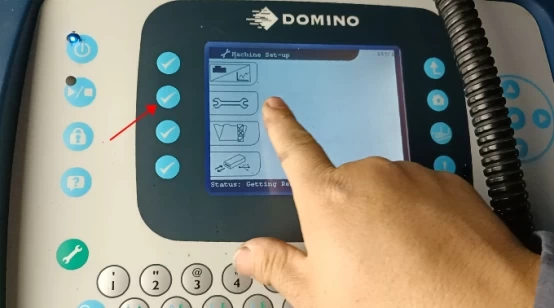
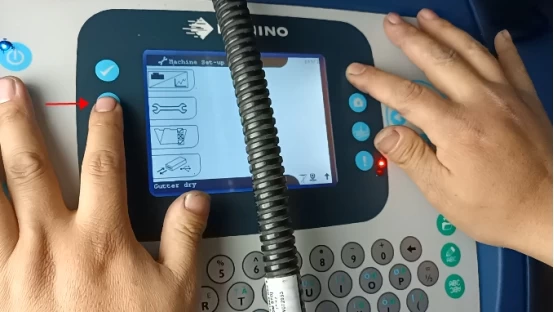
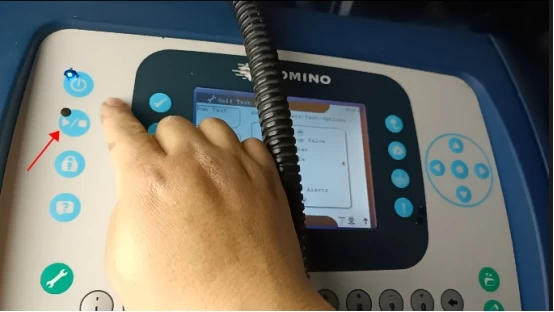
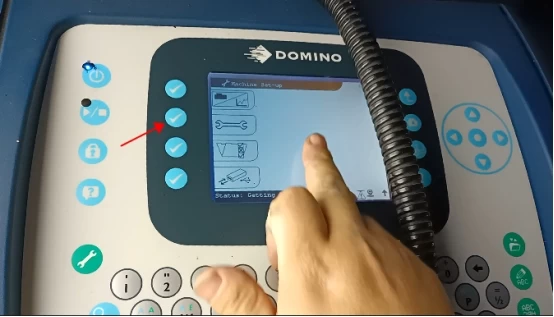
Then we execute the software on the screen. Let's press the wrench key:
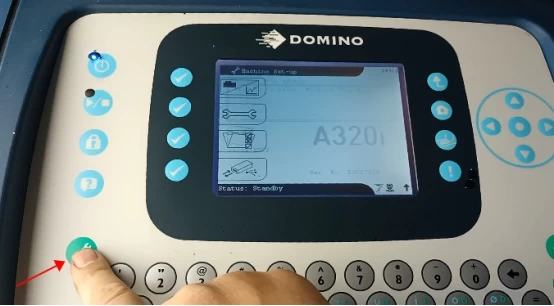
Then press this wrench key:
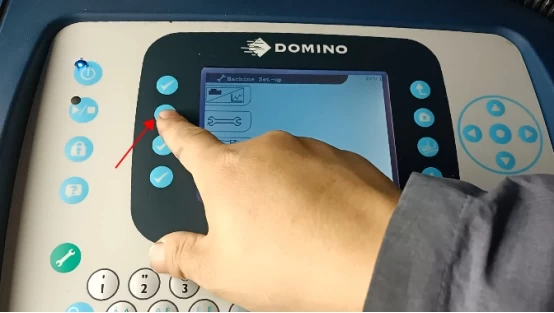
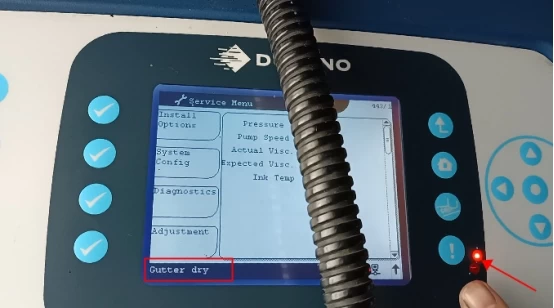
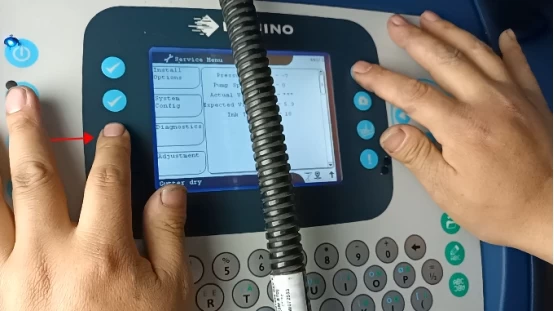
Then press the Diagnostics key:
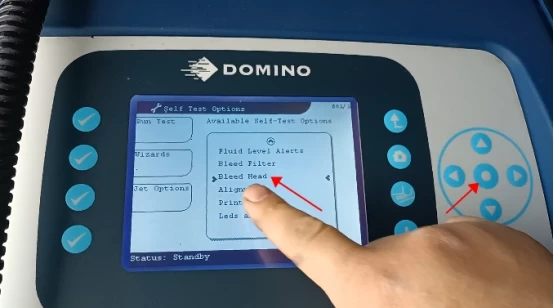
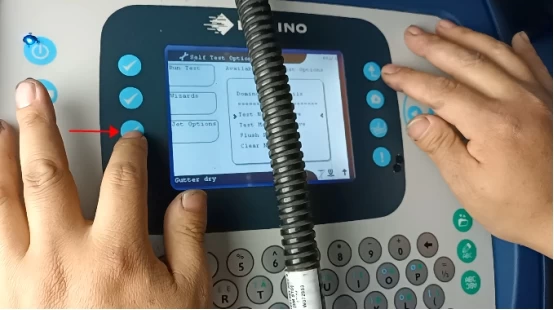
Press the arrow keys to select downwards, there is Bleed filter:
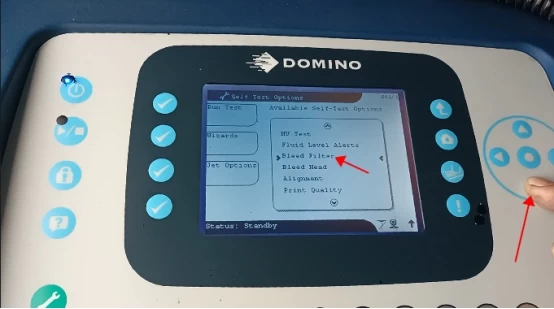
We select Blended Filter and press OK:
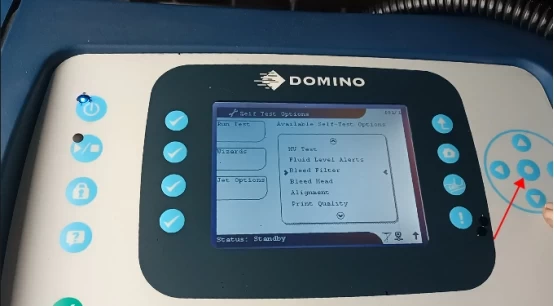
After exhausting, we will proceed to the next step.
Note: When venting, ink and solvent must be added to a certain level, otherwise the bottom of the screen will report ink empty or solvent empty:
After adding it, wait for the screen to show standby, and then we will perform the software operation.
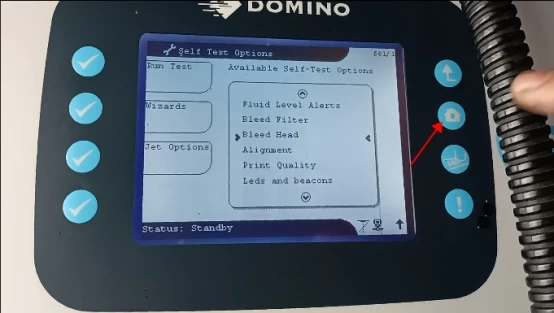
After the filter has been vented, we select Bleed Head and press the Confirm key:
Then exhaust for about 5 minutes and we press Stop:

At this time, you can press this key to return to the main interface:
Then we hold down this key for 3 seconds without releasing:
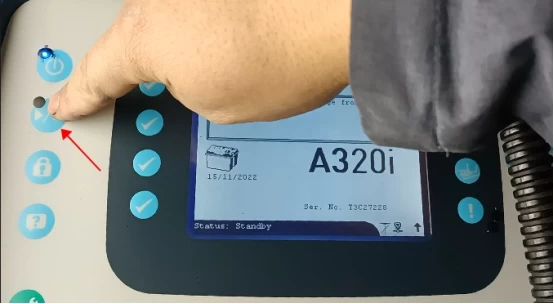
As soon as this light flashes, it means that the machine is opening the ink line:
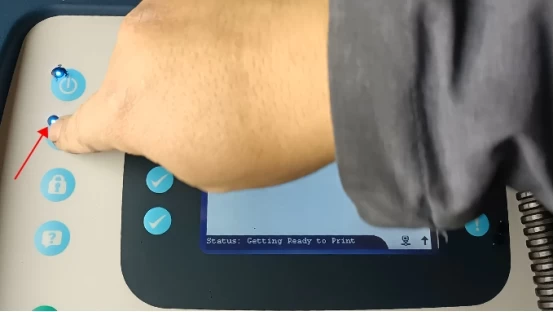
When the printable status is displayed at the bottom of the screen, we can print.
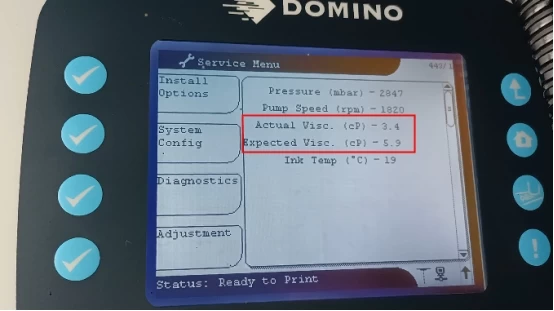
On this interface we can press the wrench key:
Then press this wrench key to see the parameters:
If the system is powered on, the lower screen reports a recycling failure:
We need to see if the printhead is dirty, and if it is dirty, we have to clean it from top to bottom:
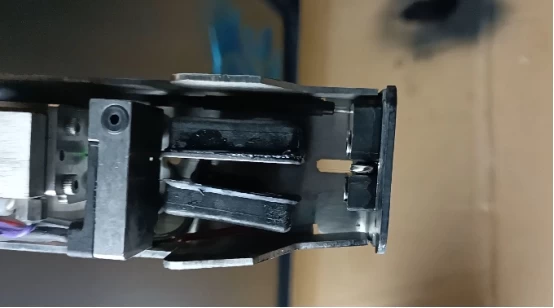
This is the recycling tank:
After washing, we return to this interface and click on the wrench key:
Click on the third, diagnostic key:
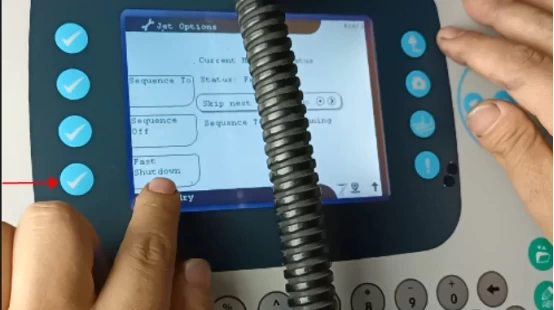
Then, press the ink line option:
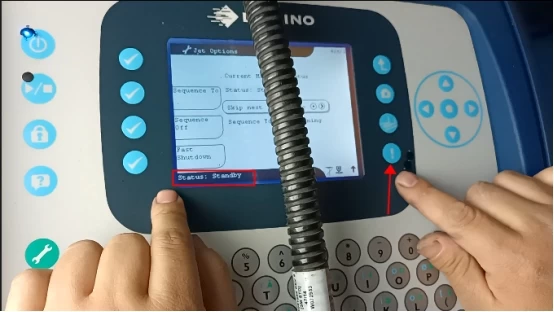
We click on Fast Shutdown and then click on OK:
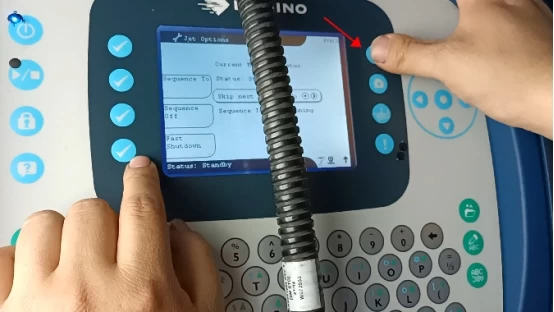
The alarm is eliminated and the warning light is not on:
After we dismiss the alert, then press Back:
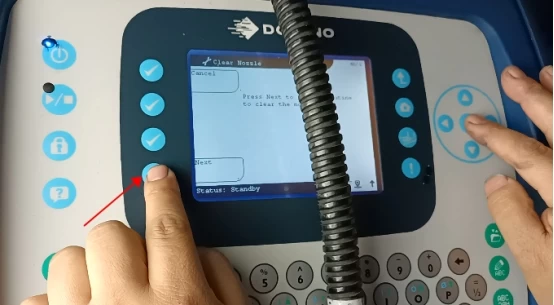
Then we select the Clear Nozzle and click OK:
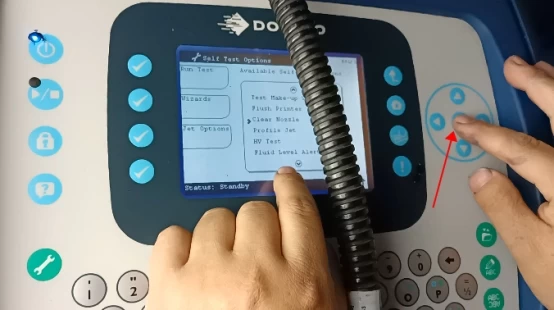
Then click Next:
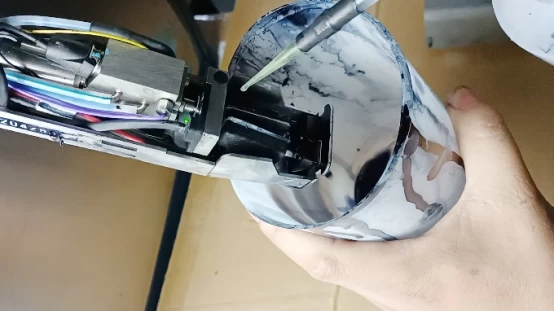
At this time, we can take the cleaning pot and clean it against the hole in the nozzle:
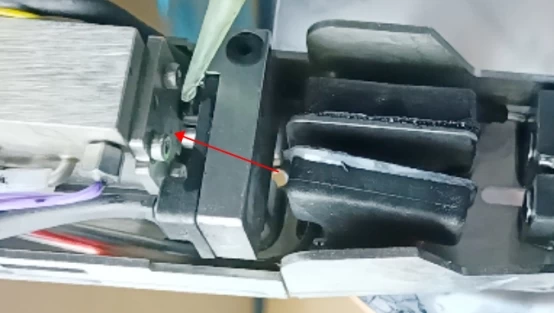
After we pressed Clear Nozzle, when we found that the cleaning liquid hit the recycling tank and heard a rattling sound, it said that it was cleaned, and then we cleaned the nearby recycling tank.
Then we hold down this key for 3 seconds without releasing, opening the ink line:
When there is a clamoring sound, there is an ink line coming out and entering the recycling tank, there is no problem:
Press the wrench key to see the parameters:
Wait for the viscosity value to be displayed.
If the viscosity value is a little low, for example, its target value is 5.9, and now it is only 3.4, we only need to run the machine, do not need to shut down, its viscosity will slowly reach this value: